Over the past few months, I started to play Minecraft (Java) on my desktop again. After upgrading my graphics card, I wanted to install some shaders. However, unlike when I was in college, I now install and play minecraft using flatpak. While flatpak makes installing minecraft convenient, it also complicates enabling mods like Optifine. So… here’s how it’s done :) .
Note: Before we start, I have only done this on Fedora Linux. It is possible that paths and locations may differ on other distros.
Install the Minecraft Flatpak
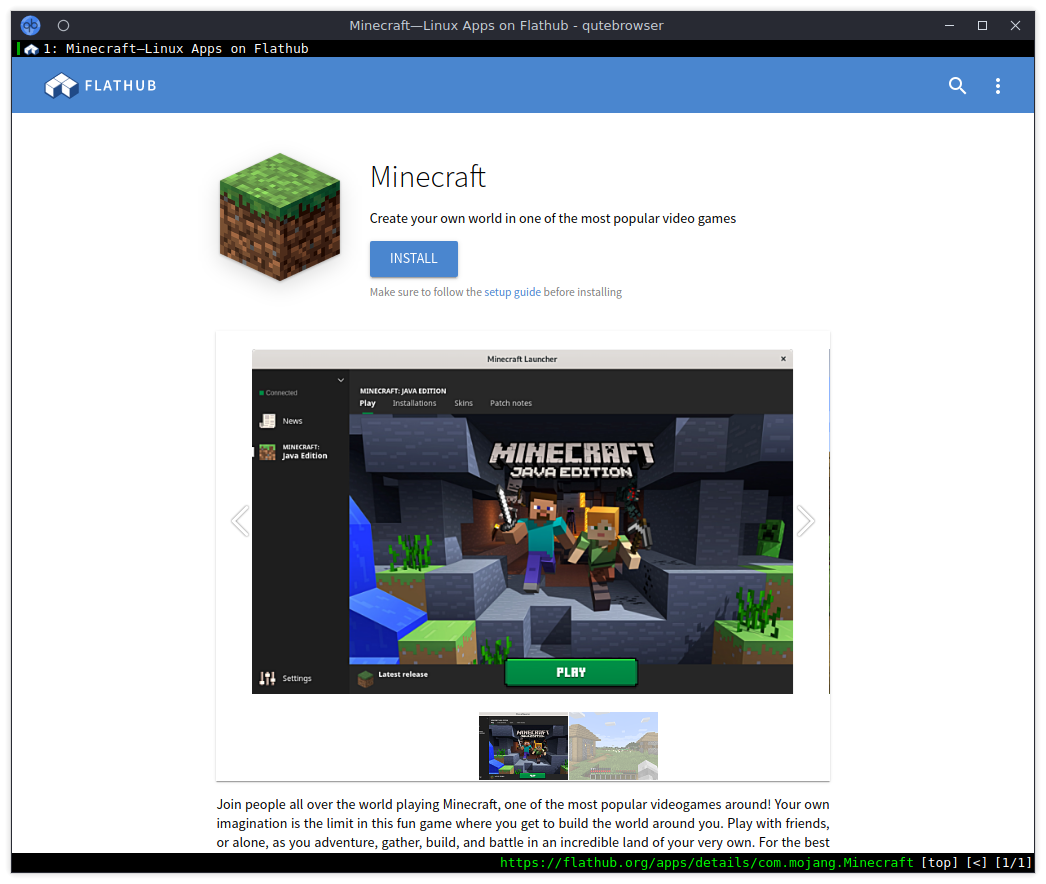
First, lets install the minecraft flatpak. Ensure that flathub is enabled, then run the following command to install Minecraft:
flatpak install com.mojang.Minecraft
When it finishes, open up the launcher and login to verify that everything is working.
(Logging into the official launcher at least once is required to install Optifine in the later steps).
Optifine
Optifine is a Minecraft optimiziation mod which supports installing shader and texture packs. Simply put, this makes minecraft look better. Additionally, some shaders can optimize the game to perform better too. I use a shader that renders some textures more realistically from the default, but nothing too fancy.
Download
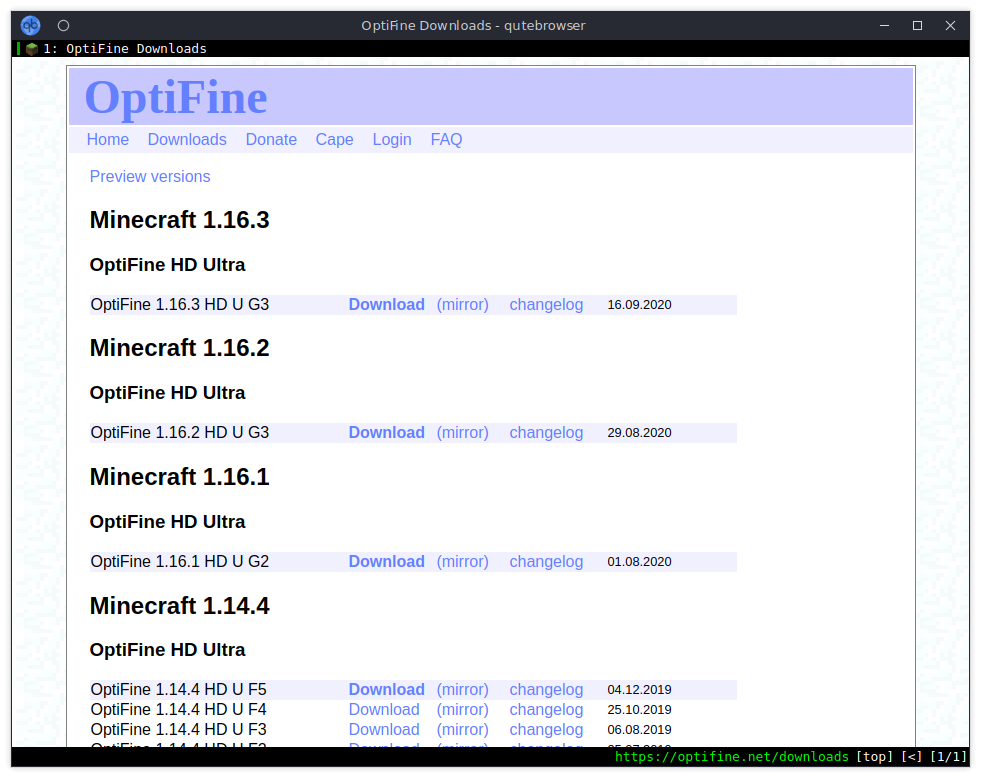
To obtain optifine, go to the downloads page and download the version which corresponds to the minecraft version you are using. If you are running a version which is more recent, you might have to try a Preview version of optifine. In my experience, the previews have worked without issue.
Install Optifine
Finding the minecraft folder
Before we install Optifine, there is one piece of information we need to know:
the .minecraft folder location. This is where running a flatpak verion
diverges from a normal minecraft install, as the folder will not be at
~/.minecraft/.
This is because flatpak applications are sandboxed from the system. While good
for security, it means that the ‘home directory’ observed inside the application
is different from the user’s (like a chroot).
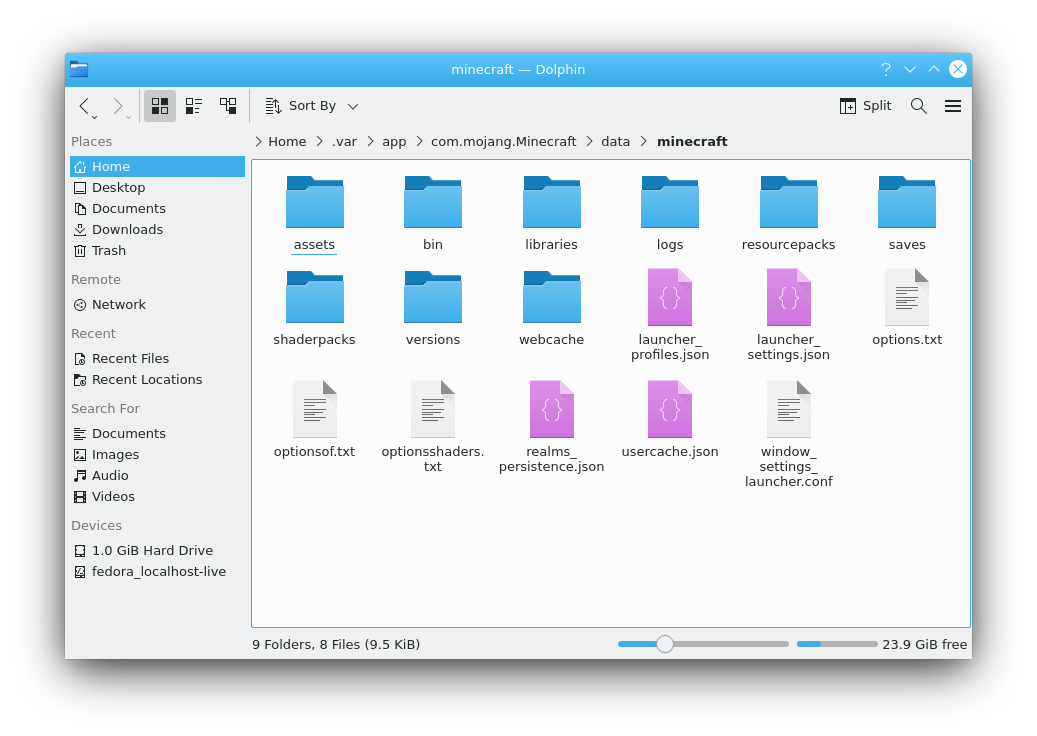
On my computer, the flatpak applications are located at /home/ryan/.var/app/,
making my ‘/home/ryan/.minecraft/’ folder actually at
/home/ryan/.var/app/com.mojang.Minecraft/data/minecraft/. Find and remember
this location. (Hint: it should be similar to mine)
Install Optifine
Back to Optifine…
To run the optifine installer, open a terminal, navigate to the downloaded
jar file, and execute it using java:
## If java is not installed:
sudo dnf install java-openjdk-latest
## Then:
cd ~/Downloads
java -jar preview_OptiFine_1.16.3_HD_U_G3_pre1.jar
This will open the installer.
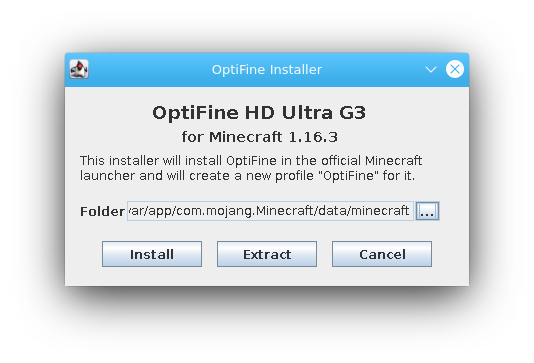
Switch the Folder to the minecraft one we found previously, and click
Install. Note: If the official minecraft launcher was not already logged
into, this step will not work as it will fail to find minecraft (the launcher
downloads content on the first login).
Configure The Optifine Launcher
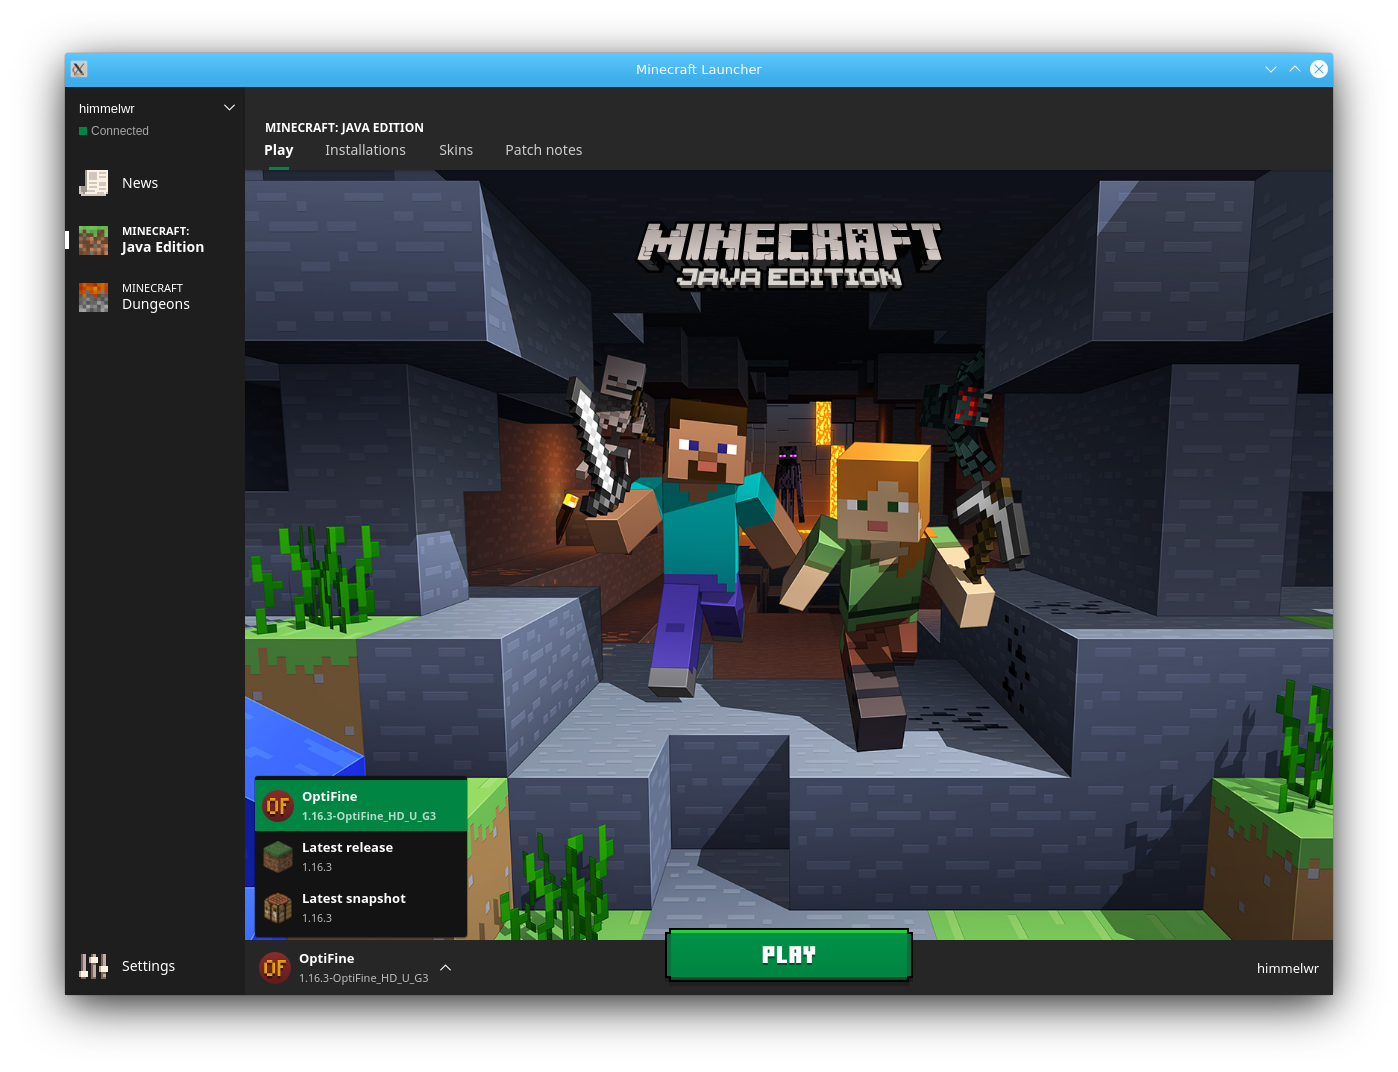
With Optifine installed, we need to select it in the minecraft launcher. If Optifine was correctly installed, it should now be an option at the bottom left of the window (Next to settings).
Add your own installation
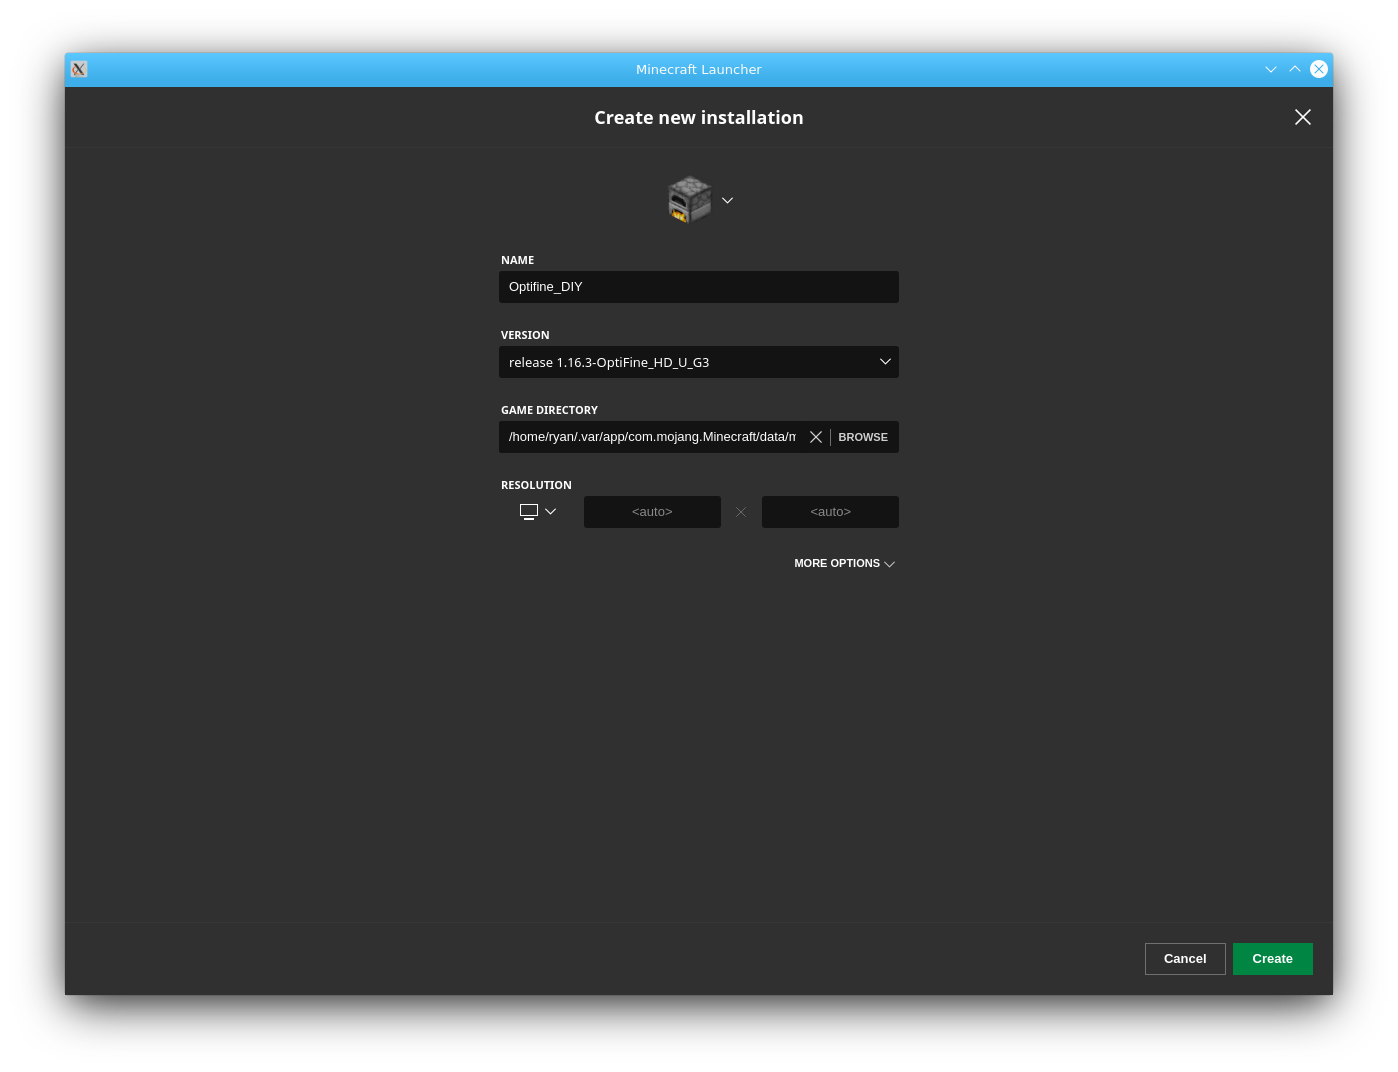
If for some reason optifine is not an option, a custom launcher can be added. To create one, click Installations at the top of the launcher, and hit the New button. From that window, give the install a name and select your latest Optifine version from the drop-down menu. If optifine isn’t an option, it likely wasn’t installed correctly or in the right location.
Lastly, remember to once again switch the Game Directory to the location of the flatpak minecraft folder we’ve been using. Hit Create and switch to the new profile.
Shaders
The main motivation behind adding Optifine is the ability to use shaders. With Optifine all configured, lets finish what we came here for.
Download
First, find a shader. I have been using the BSL shader pack and love it. It keeps a more ‘classic’ minecraft style, without changing too much. However, it improves key visuals like the lighting, water, and swaying plants.
When you find a shader you want, just download the package and move it to the shaders folder in our flatpak minecraft folder.
FYI, not every shader I tried worked.
Enable in game
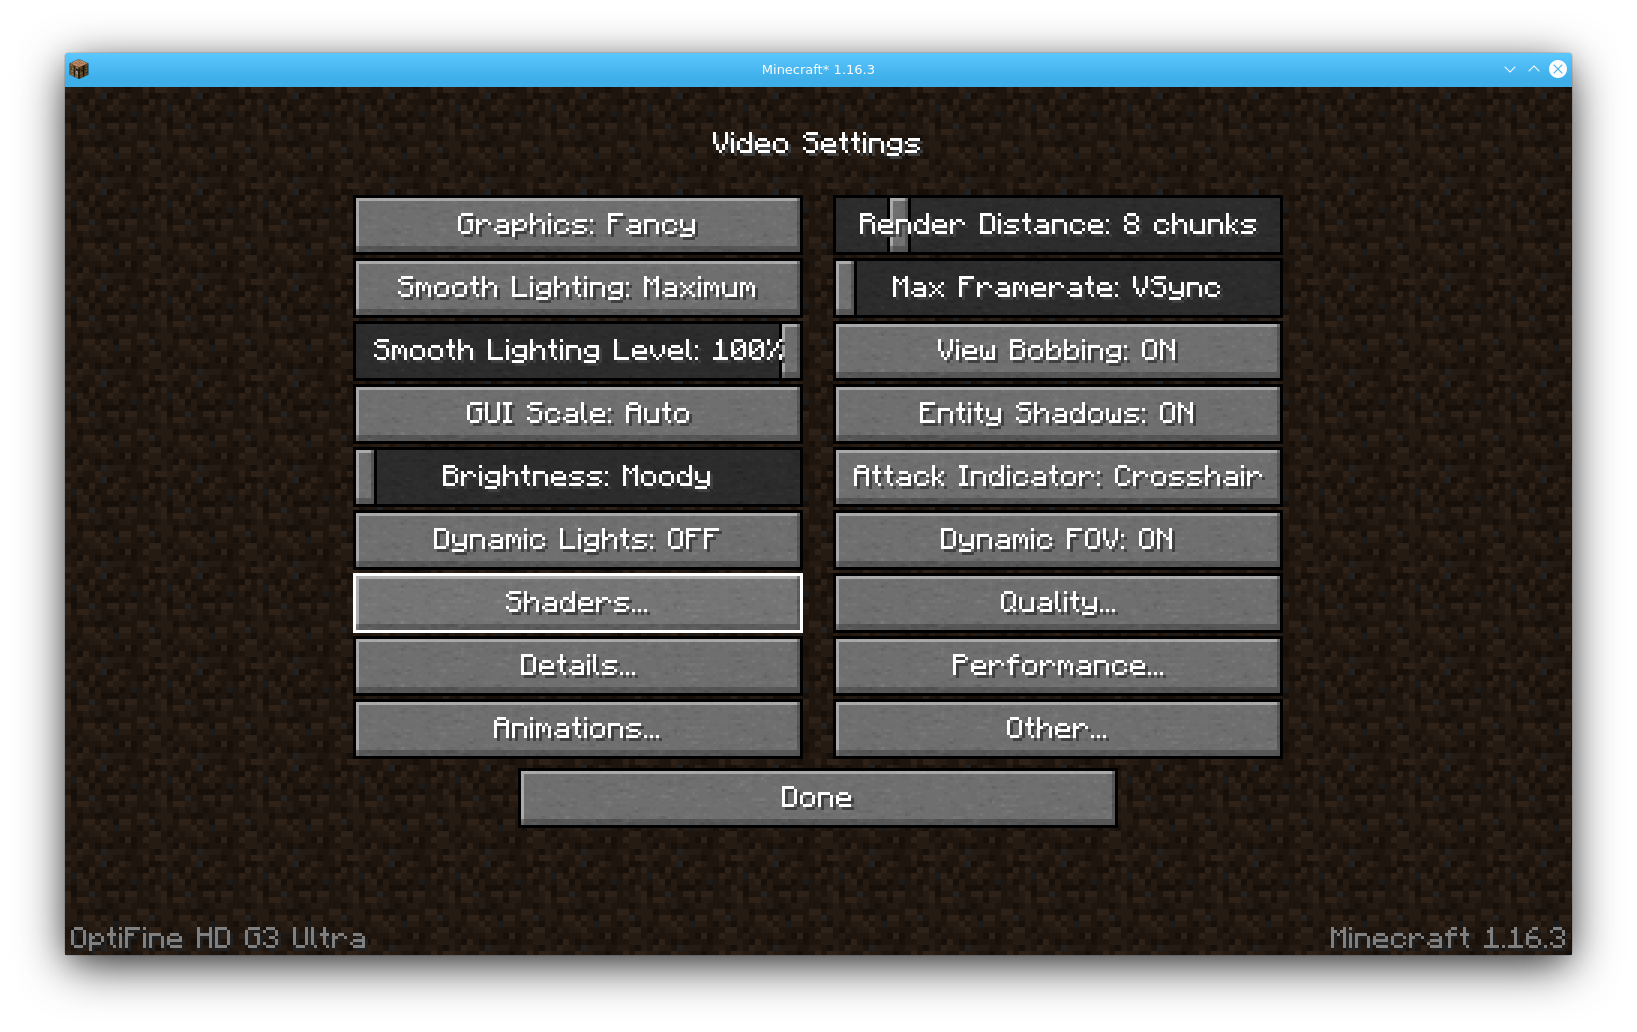
With the shader package in place, we should be able to enable it in the game. Fire up minecraft (using the optifine install), and select Options, then Video Settings. From there, you should now see a newly available Shaders option. Click it to open up the shaders menu.
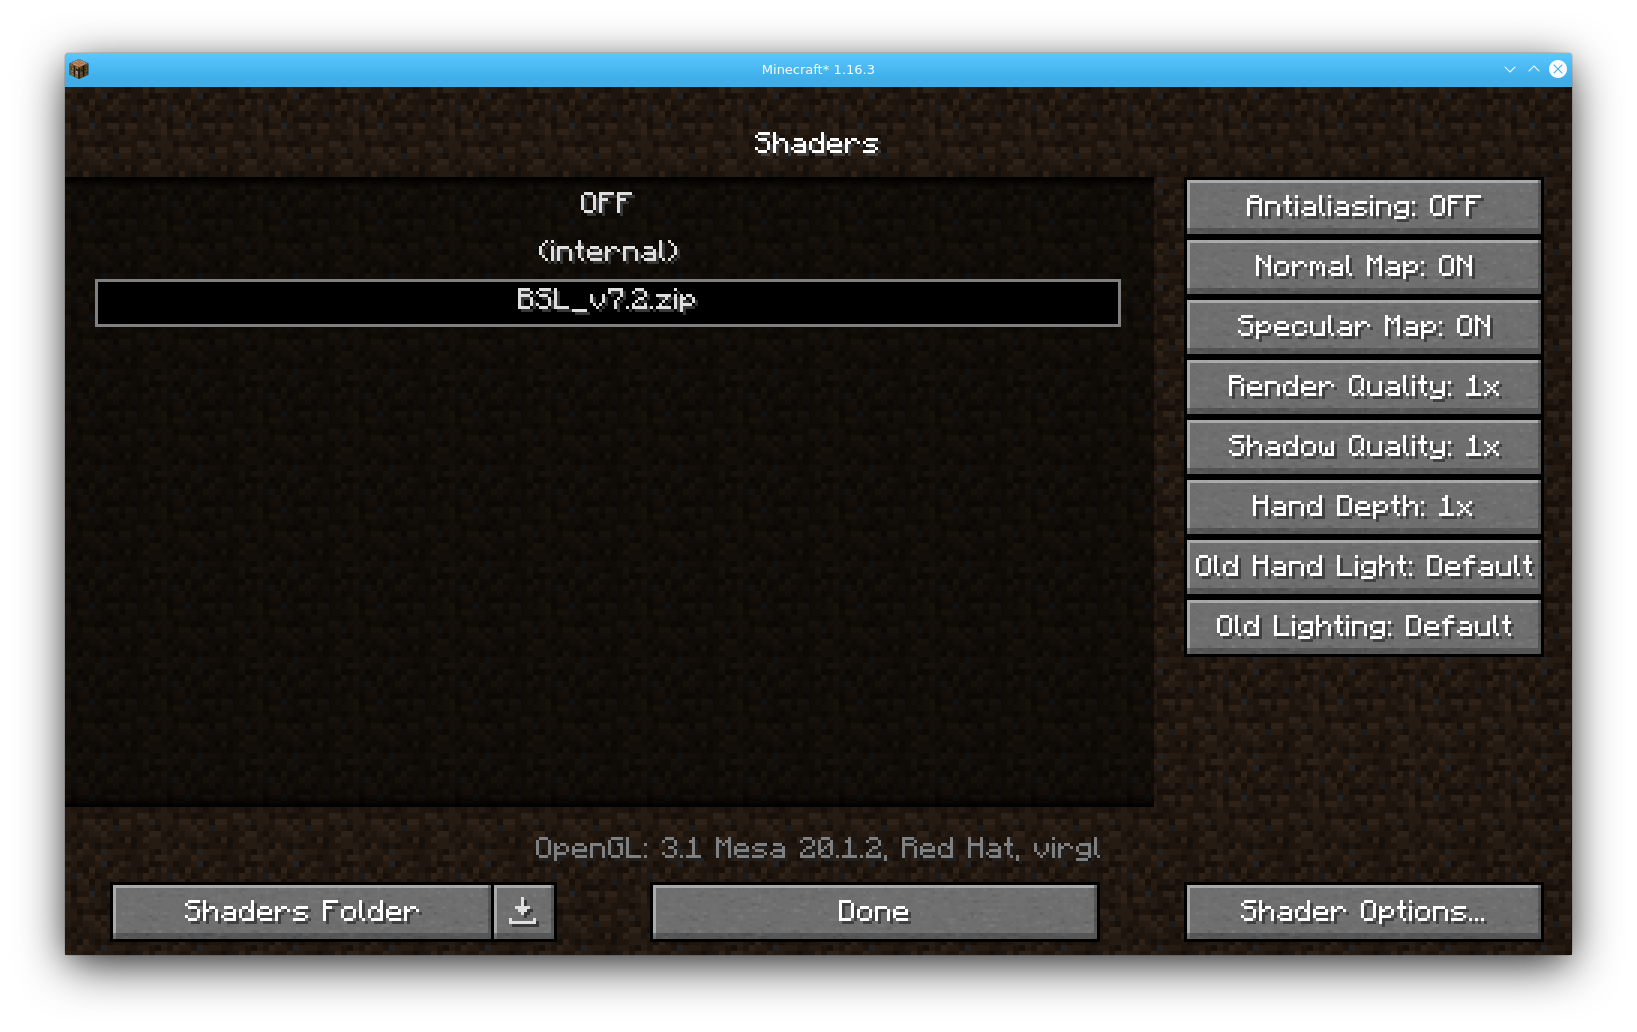
If the shader package was moved to the correct location, it should show up here. If so, click the desired shader (the laucher might restart when a new shader is selected). If not, open the Shaders Folder to double check the location.
After picking the shader, hit Done and check it out!
Conlusion
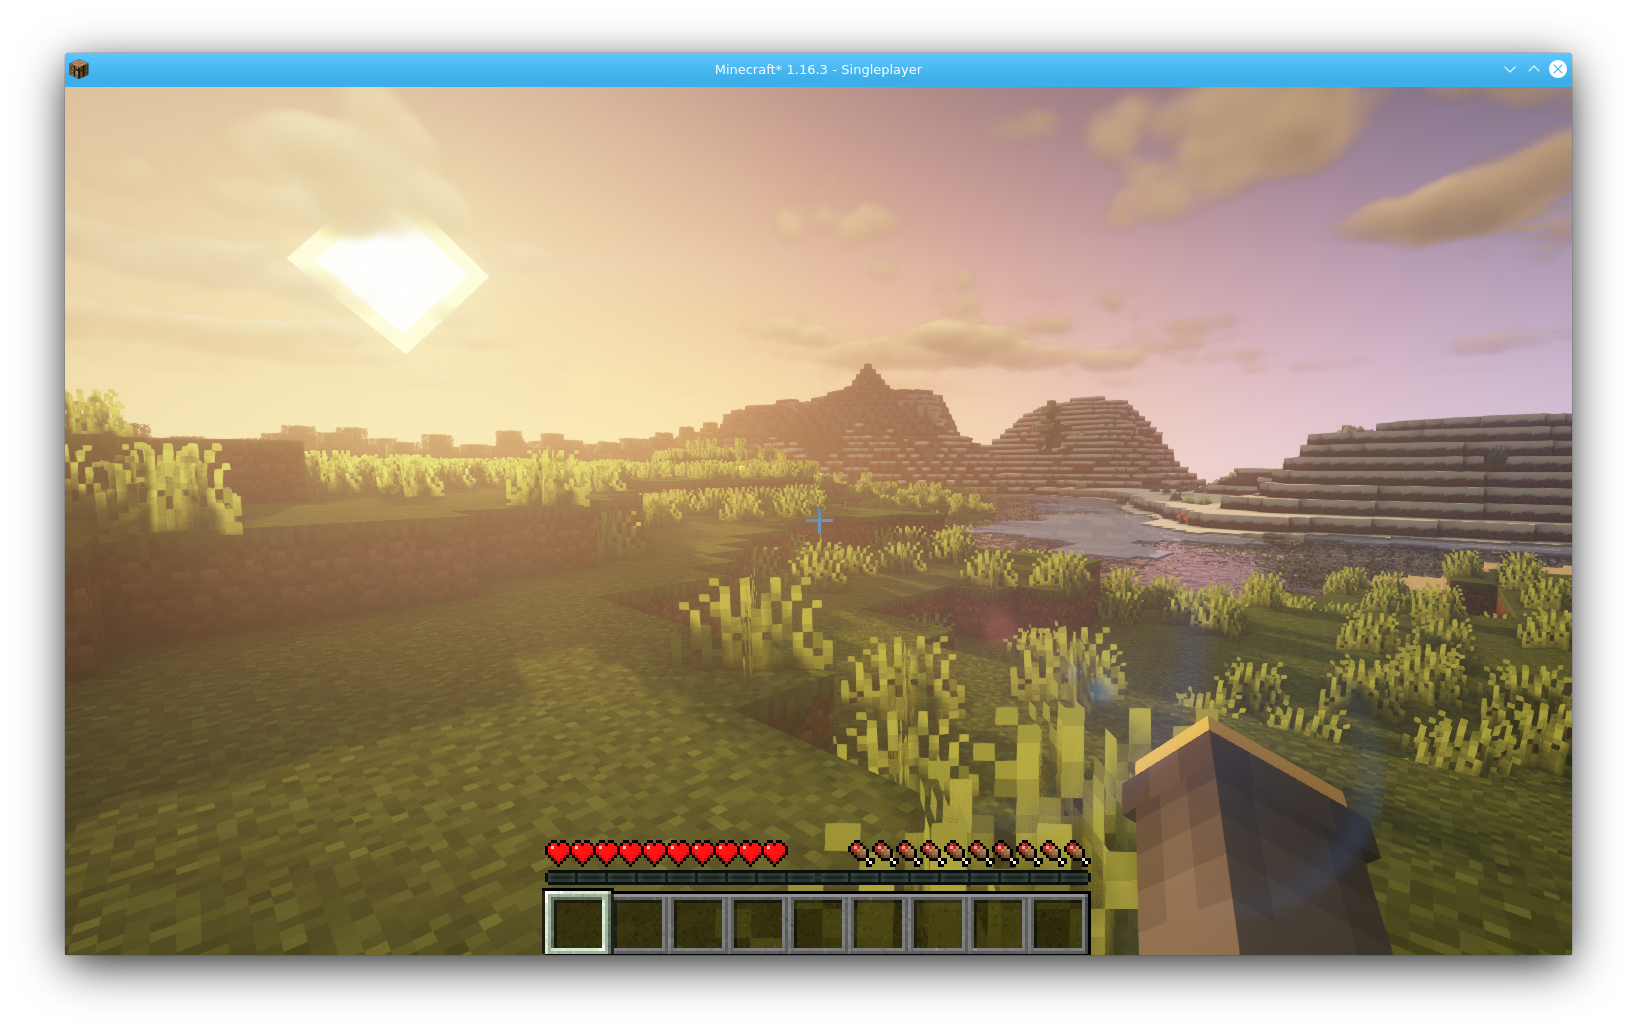
Much better! Shaders can make minecraft feel like a whole new game, and are a blast to play with. While they might seem difficult to setup with a flatpak install, it really isn’t bad if you know (and remember XD) where the minecraft folder is located. Enjoy!
PS: For those that read my previous post: yes, I did use a virgil VM to get clean install screenshots for this post… including the gameplay one!
Decided to get an Ergodox Running VMs with VirtIO 3D Acceleration