Now that the repeated setup steps have been defined in my previous LFS post, there are a few more preparation steps to complete in order to start building the LFS system. I promise… we will start compiling soon. If all goes well, this should be the last preparation post.
Downloading Sources
When it comes down to it, Linux from scratch is just a bunch of packages, and the Linux kernel, all compiled from source and linked together. To build all of this, we need to download the source code… for all of those packages. Luckily, LFS keeps a list of what is needed, and downloading it is trivial. (Note: These commands should be run as root)
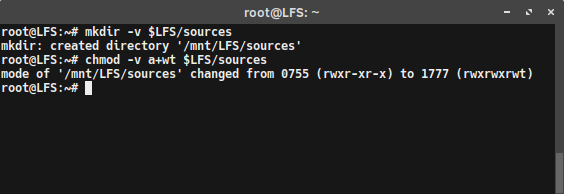
First, lets make a new directory to put all of the source code. To make the directory:
mkdir -v $LFS/sources
The LFS book suggests for this directory to be writable and sticky. A “Sticky” directory allows only the file owner to delete a file in it. To make the directory both writable and sticky, use the command:
chmod -v a+wt $LFS/sources
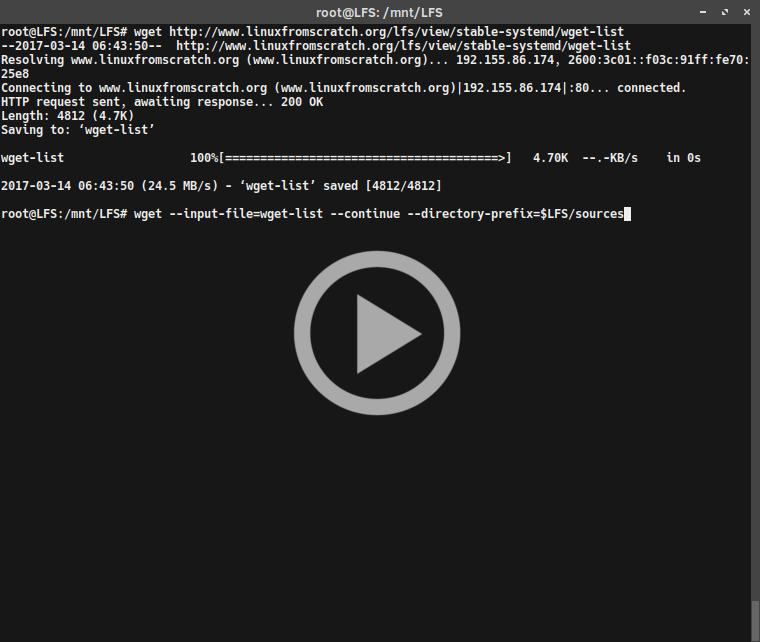
To download all of the source packages at once, download the LFS wget list:
wget http://www.linuxfromscratch.org/lfs/view/stable-systemd/wget-list
After downloading the wget list, it can be used as the input-file for wget. This will download all the sources with one command:
wget --input-file=wget-list --continue --directory-prefix=$LFS/sources
It should take a few minutes to download everything (or longer if on a poor connection).
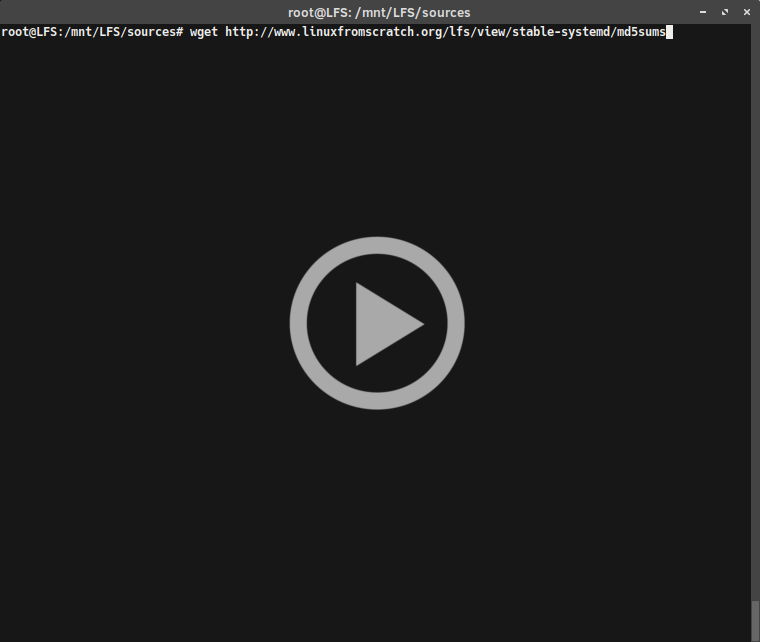
Ever since LFS-7.0, a md5sums file is provided, which can be downloaded and used to verify the integrity of downloaded packages. Download this file, again with wget:
wget http://www.linuxfromscratch.org/lfs/view/stable-systemd/md5sums
Then, compare the hashes in the list to the md5sum for each of the source packages. This is done with the commands:
pushd $LFS/sources
md5sum -c md5sums
popd
The results should all say OK. If not, try re-downloading the sources and verifying again.
Creating the $LFS/tools Directory
LFS is built in two main steps. The first step builds a set of temporary tools to build the system, but not be included as part of the Final LFS system itself. To help prevent these tools from accidentally being included in the final system, they are kept in a separate directory that can be deleted after they have served their purpose. Make this directory as root:
mkdir -v $LFS/tools
Next, we will create a /tools symlink to the host system.
ln -sv $LFS/tools /
This enables the tool-chain to be compiled so that it always refers to /tools, which ensures that the compiler, assembler, and linker will work in both the first, and second steps of the LFS build.
Update: I did this step wrong the first time (I think it failed), and encountered errors later when trying to run tar. If you encounter issues as well, jump to my next post to see how I resolved these issues
Adding the LFS User
Running a system as root is a dangerous. Running the wrong command can completely obliterate a system, and having a typo bork the LFS build, or even the host system, would be horrific. To prevent this, the book recommends creating an unprivileged user to build the packages from. To do so, first create an lfs group and then create + add a lfs user to it using the commands (as root, ironic for this section…):
groupadd lfs
useradd -s /bin/bash -g lfs -m -k /dev/null lfs
If you are not familiar with the useradd command, then RTFM by typing man useradd. I’m just kidding (although reading the man pages is never a bad idea). Here is a quick summary of what all of the flags mean.
-s /bin/bashsets our lfs user’s default shell to bash-g lfsadds the user to the lfs group that was created in the previous command-mcreates the user’s home directory (/home/lfs)-k /dev/nullchanges the input direction to the special null device to prevent the copying of files from a skeleton directory- lastly,
lfsis the new user’s name.
Before logging into the user, the password must be set.
passwd lfs
We also want to grant the lfs user full access to the tools directory we made ($LFS/tools), so lets make lfs the owner of that directory:
chown -v lfs $LFS/tools
Do the same for the sources directory we made:
chown -v lfs $LFS/sources
Lastly, login as lfs!
su - lfs
Note: the “-” tells su to start a login shell, rather than a non-login shell. This mostly ensures that various files are read at login to setup environment variable and other profiles.
Setting up the Build Environment
Now with the lfs user created, we need to setup a proper working environment for that user. To do this, we will create the .bash_profile and .bashrc files.
Creating .bash_profile
When logging in as the lfs user, the shell first reads the /etc/profile of the host, followed by the .bash_profile. So, lets start with the .bash_profile. Create/open .bash_profile and add the following line to it:
exec env -i HOME=$HOME TERM=$TERM PS1='\u:\w\$ ' /bin/bash
This line replaces the running shell with a new one that contains a completely empty environment, except the HOME, TERM, PS1 variables. This ensures that there are no stray environment variables, that may interfere with the build environment.
Creating .bashrc
The new instance of this the shell is a non-login shell, so it does not read the /etc/profile or .bash_profile files. However, it does read the .bashrc, so lets go ahead and create that. Open ~/.bashrc` and add the following lines:
set +h
umask 022
LFS=/mnt/lfs
LC_ALL=POSIX
LFS_TGT=$(uname -m)-lfs-linux-gnu
PATH=/tools/bin:/bin:/usr/bin
export LFS LC_ALL LFS_TGT PATH
The set +h line turns off bash’s hash function. This is normally a usefully feature, as it essentially caches the path-names of executables. Removing this will ensure that the newly compiled tools will always be found by the shell once they are available, because the shell will have to re-search the PATH each time. Similarly, placing /tools/bin ahead of the standard /bin:/usr/bin PATH (line 6), also helps force the shell to immediately locate up all the programs in chapter 5 after installation. These two techniques will hopefully prevent the risk of using old programs from the host instead of the newly compiled ones.
The umask 022 line defines the umask to 022, which sets up the system so that created files and directories are only writable by their owner, but are readable and executable by anyone.
The LFS=/mnt/lfs line should look familiar, as it sets the LFS variable to our LFS mount point.
Lastly, setting the LC_ALL variable to POSIX or C ensures that everything will work as expected in the chroot environments (regarding localization settings).
To enable this new environment we’ve setup, source the user-profile:
source ~/.bash_profile
Congratulations! We are now ready to start compiling some code in the next post!
Linux from Scratch - SBUs and Binutils Linux from Scratch - Repeated Setup Steps