For a long time I have been thinking about replacing my server’s proxmox install with vanilla Debian or CentOS, mostly for learning purposes. I would first setup zfs on the new system and import my existing data pools. Then, I would use either a system like ovrit or just plain kvm/lxc to run my VMs and containers. In order to do this though… I have to first figure out how export my containers and VMs running in Proxmox. As it turns out… exporting the VMs wasn’t very hard…
Exporting Proxmox VM Disk
My Proxmox VMs are setup on an LVM virtual group, with each virtual drive being a lvm volume passed to the VM. So, I wanted to be able to extract these disks to something I could more easily transfer. I ended up converting the lvm volumes to qcow2 images because it was easy and I’ve actually experienced okay performance with qcow2 on my workstations. Additionally, qcow2 being a single file, is easy to move around and I can always convert them to something else on the final system. To export one of the VMs, I ran the command:
qemu-img convert -O qcow2 /dev/pve/vm-108-disk-1 /Data/freebsd-vm.qcow2
That was it. It took a few minutes to finish, but honestly that is all I had to do (I’m sure I should of taken a snapshot or something then copy that, but this seemed to work fine). When it completed, I copied the image down to my desktop and decided to test it out with virt-manager.
Importing the image to Virt-Manager
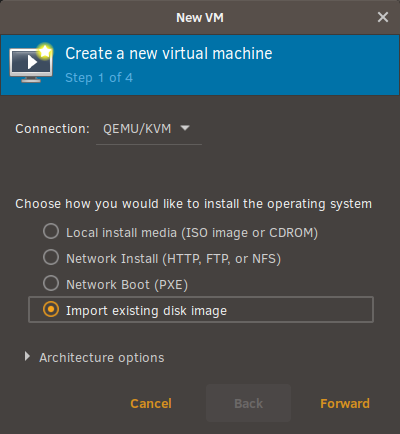
I opened up virt-manager and selected the button to create a new VM. At the first prompt, instead of selecting my usual “Local install media (ISO image or CDROM)” option, I choose to “Import an existing disk image”.
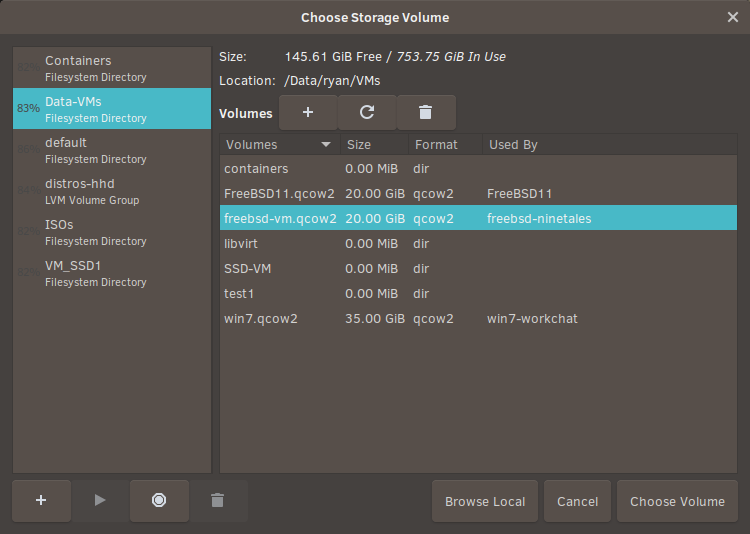
At the second menu, I opened up the browse menu to see my already configured locations. From there, I found where I had saved the converted qcow2 image, and selected it.
Next, I continued setting up the virtual specs (CPU, RAM, etc.) for the machine just as I would with any other VM setup. When I was done, I started the VM and FreeBSD booted right up. I logged in and compared the installed applications and files with the still running proxmox VM. They were identical.
That’s all I really have for this post. It was extremely simple to export the VMs. I know I’m not fully done yet and still have to import the VMs to the final system, but I’ll save that for a later post. Right now… I have quite a few VM images to convert, so I might as well get started.
Refreshing my i3 setup with i3blocks Updating the Pi Cluster with Ansible