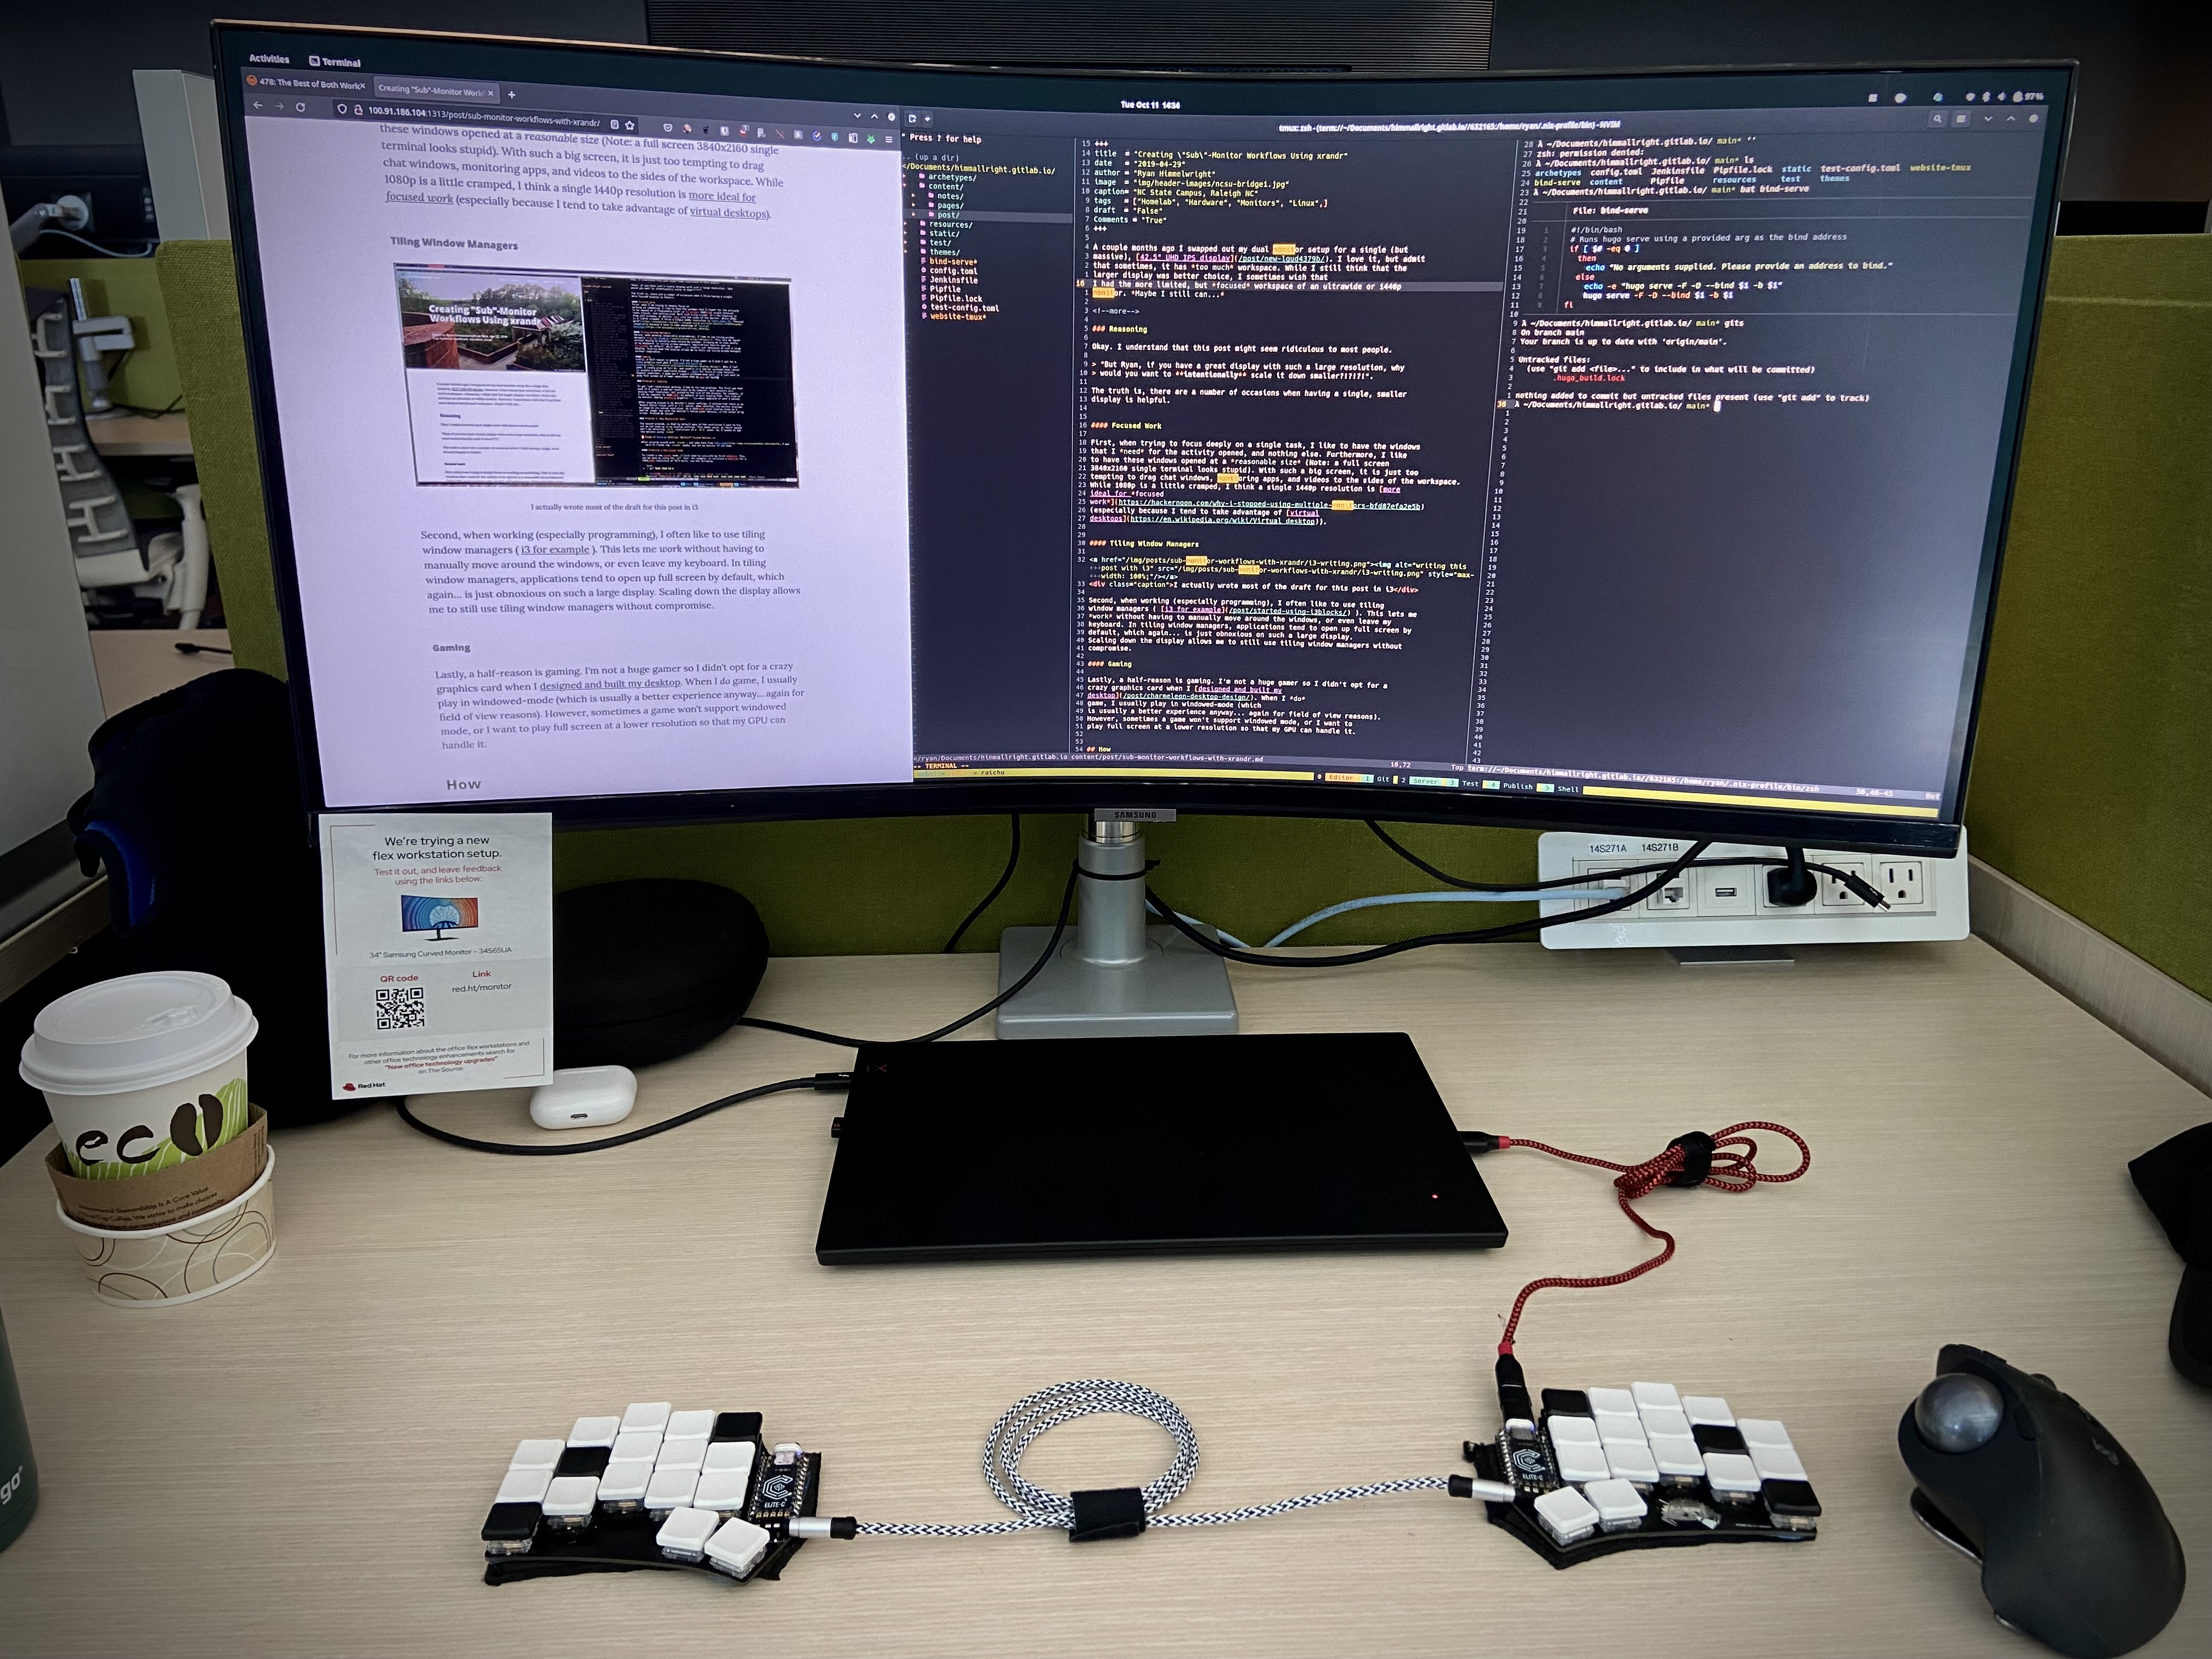
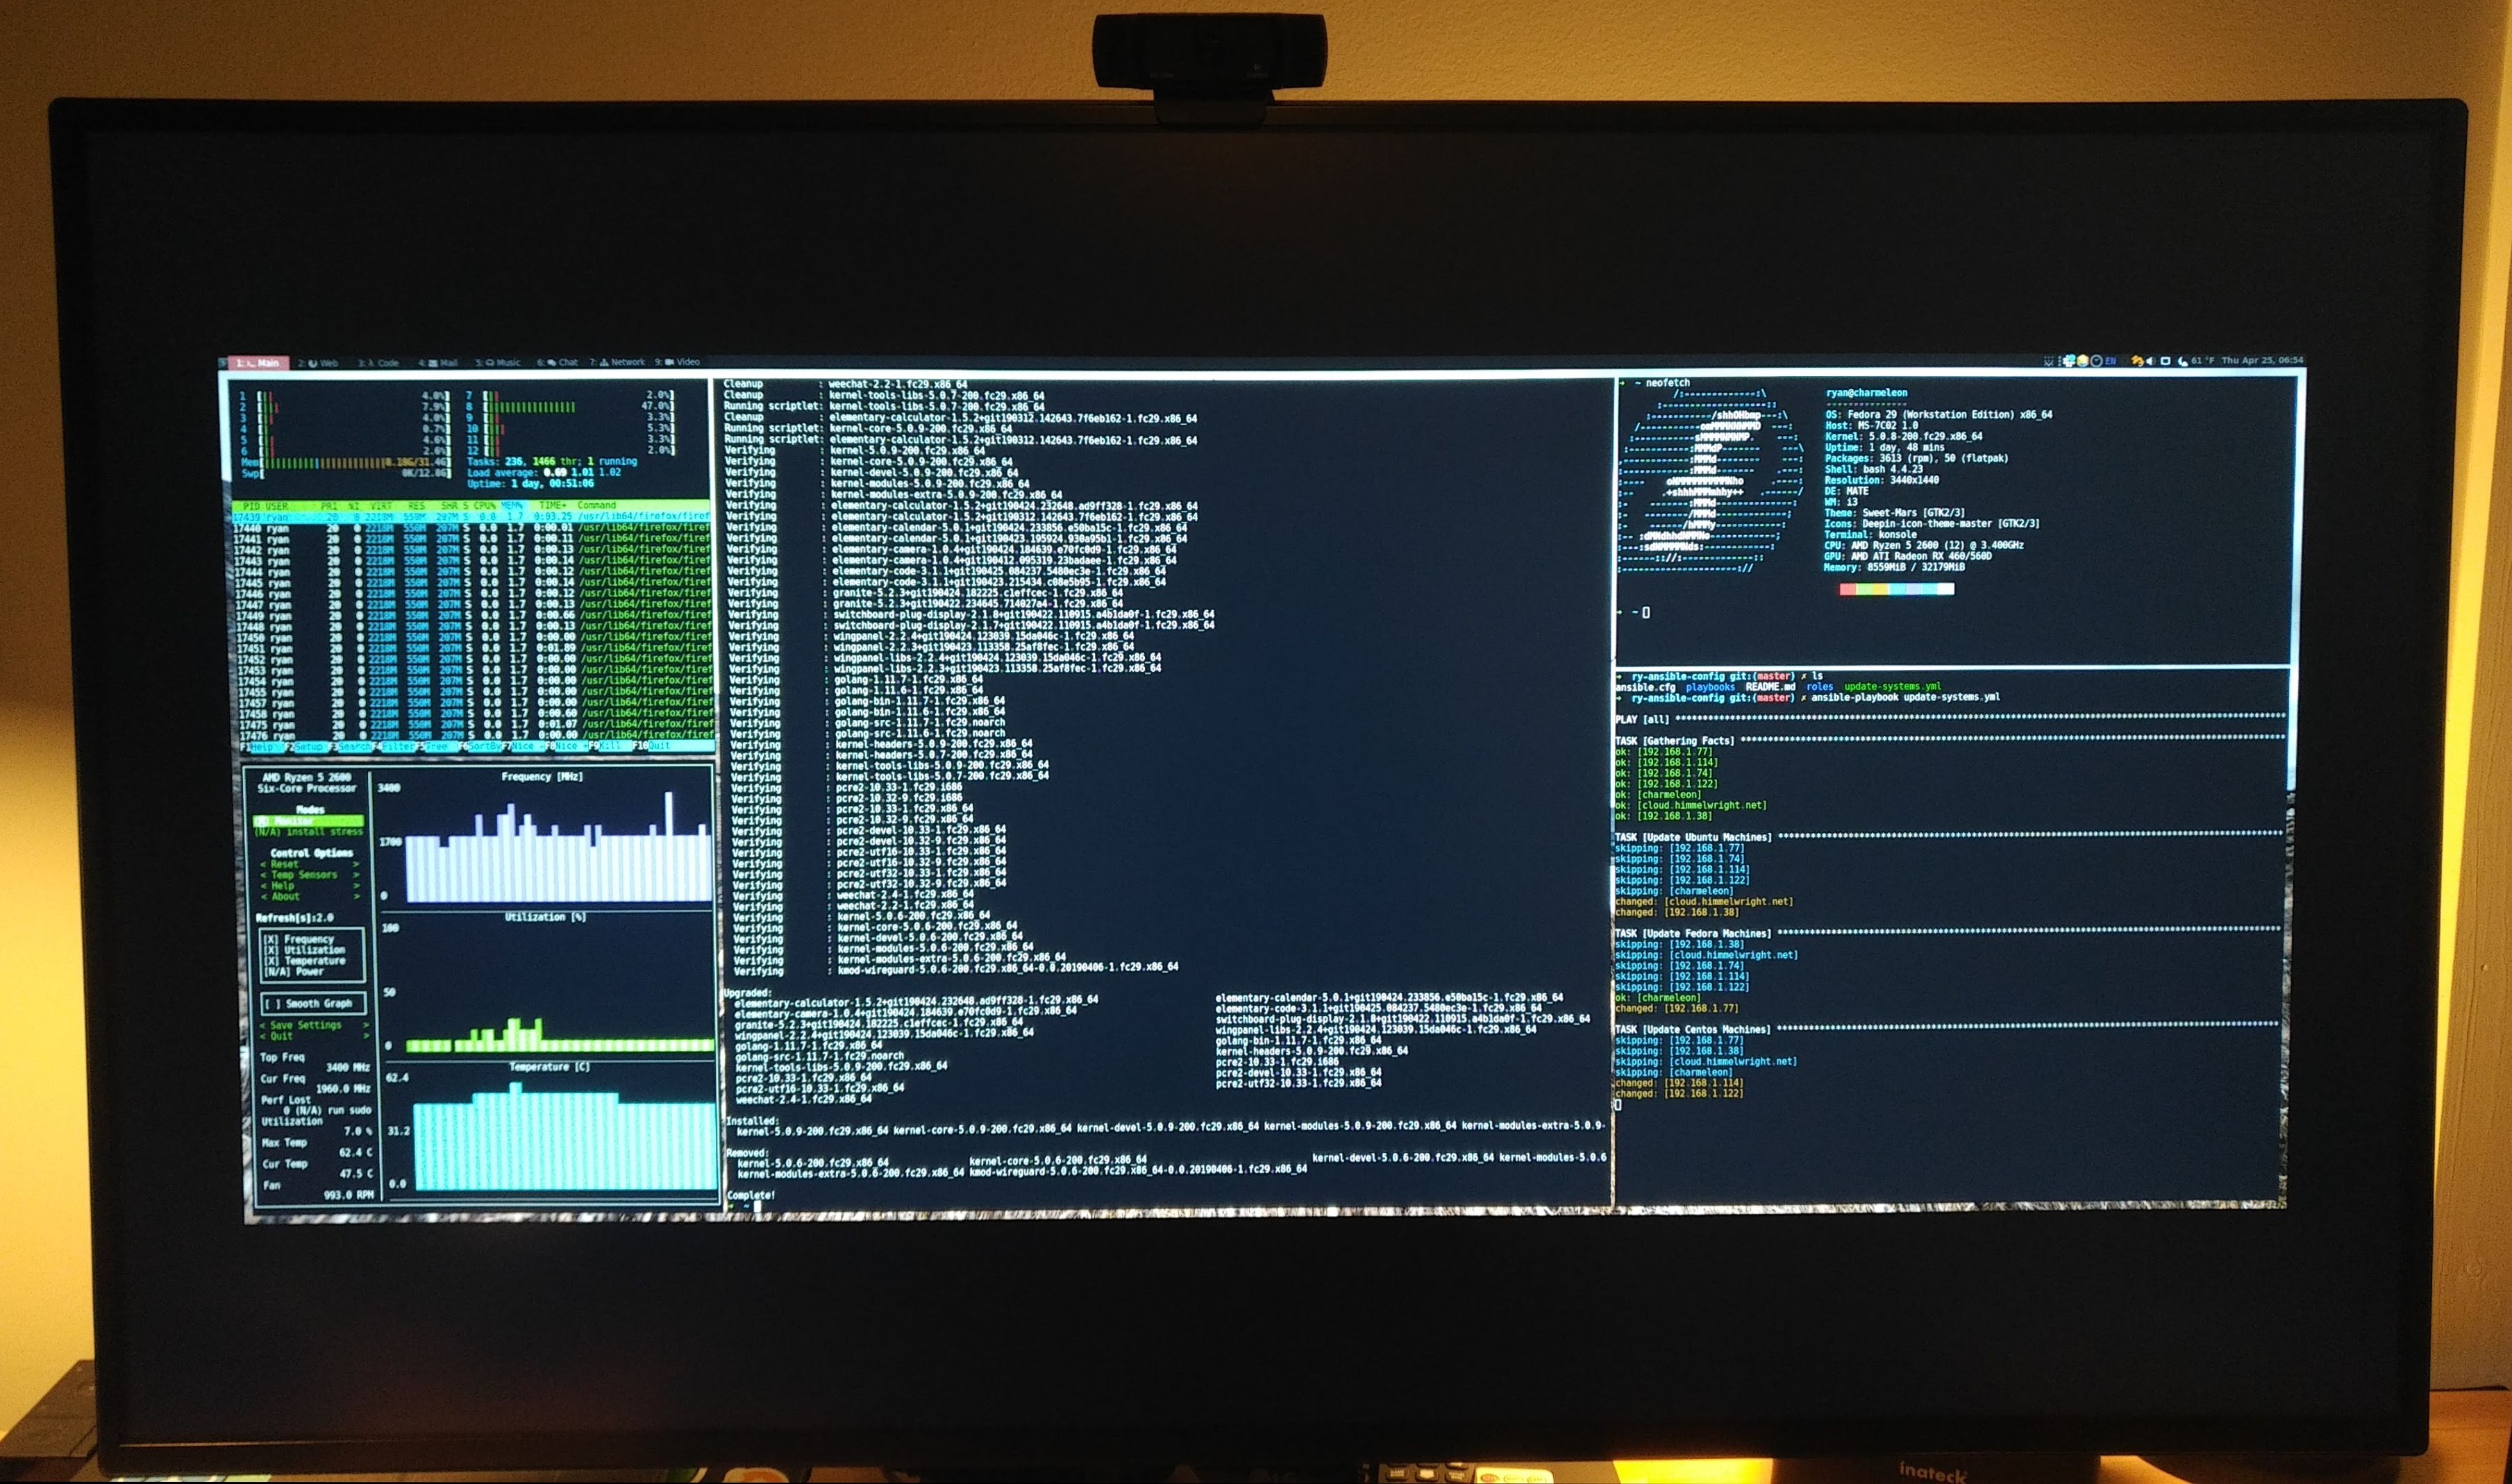
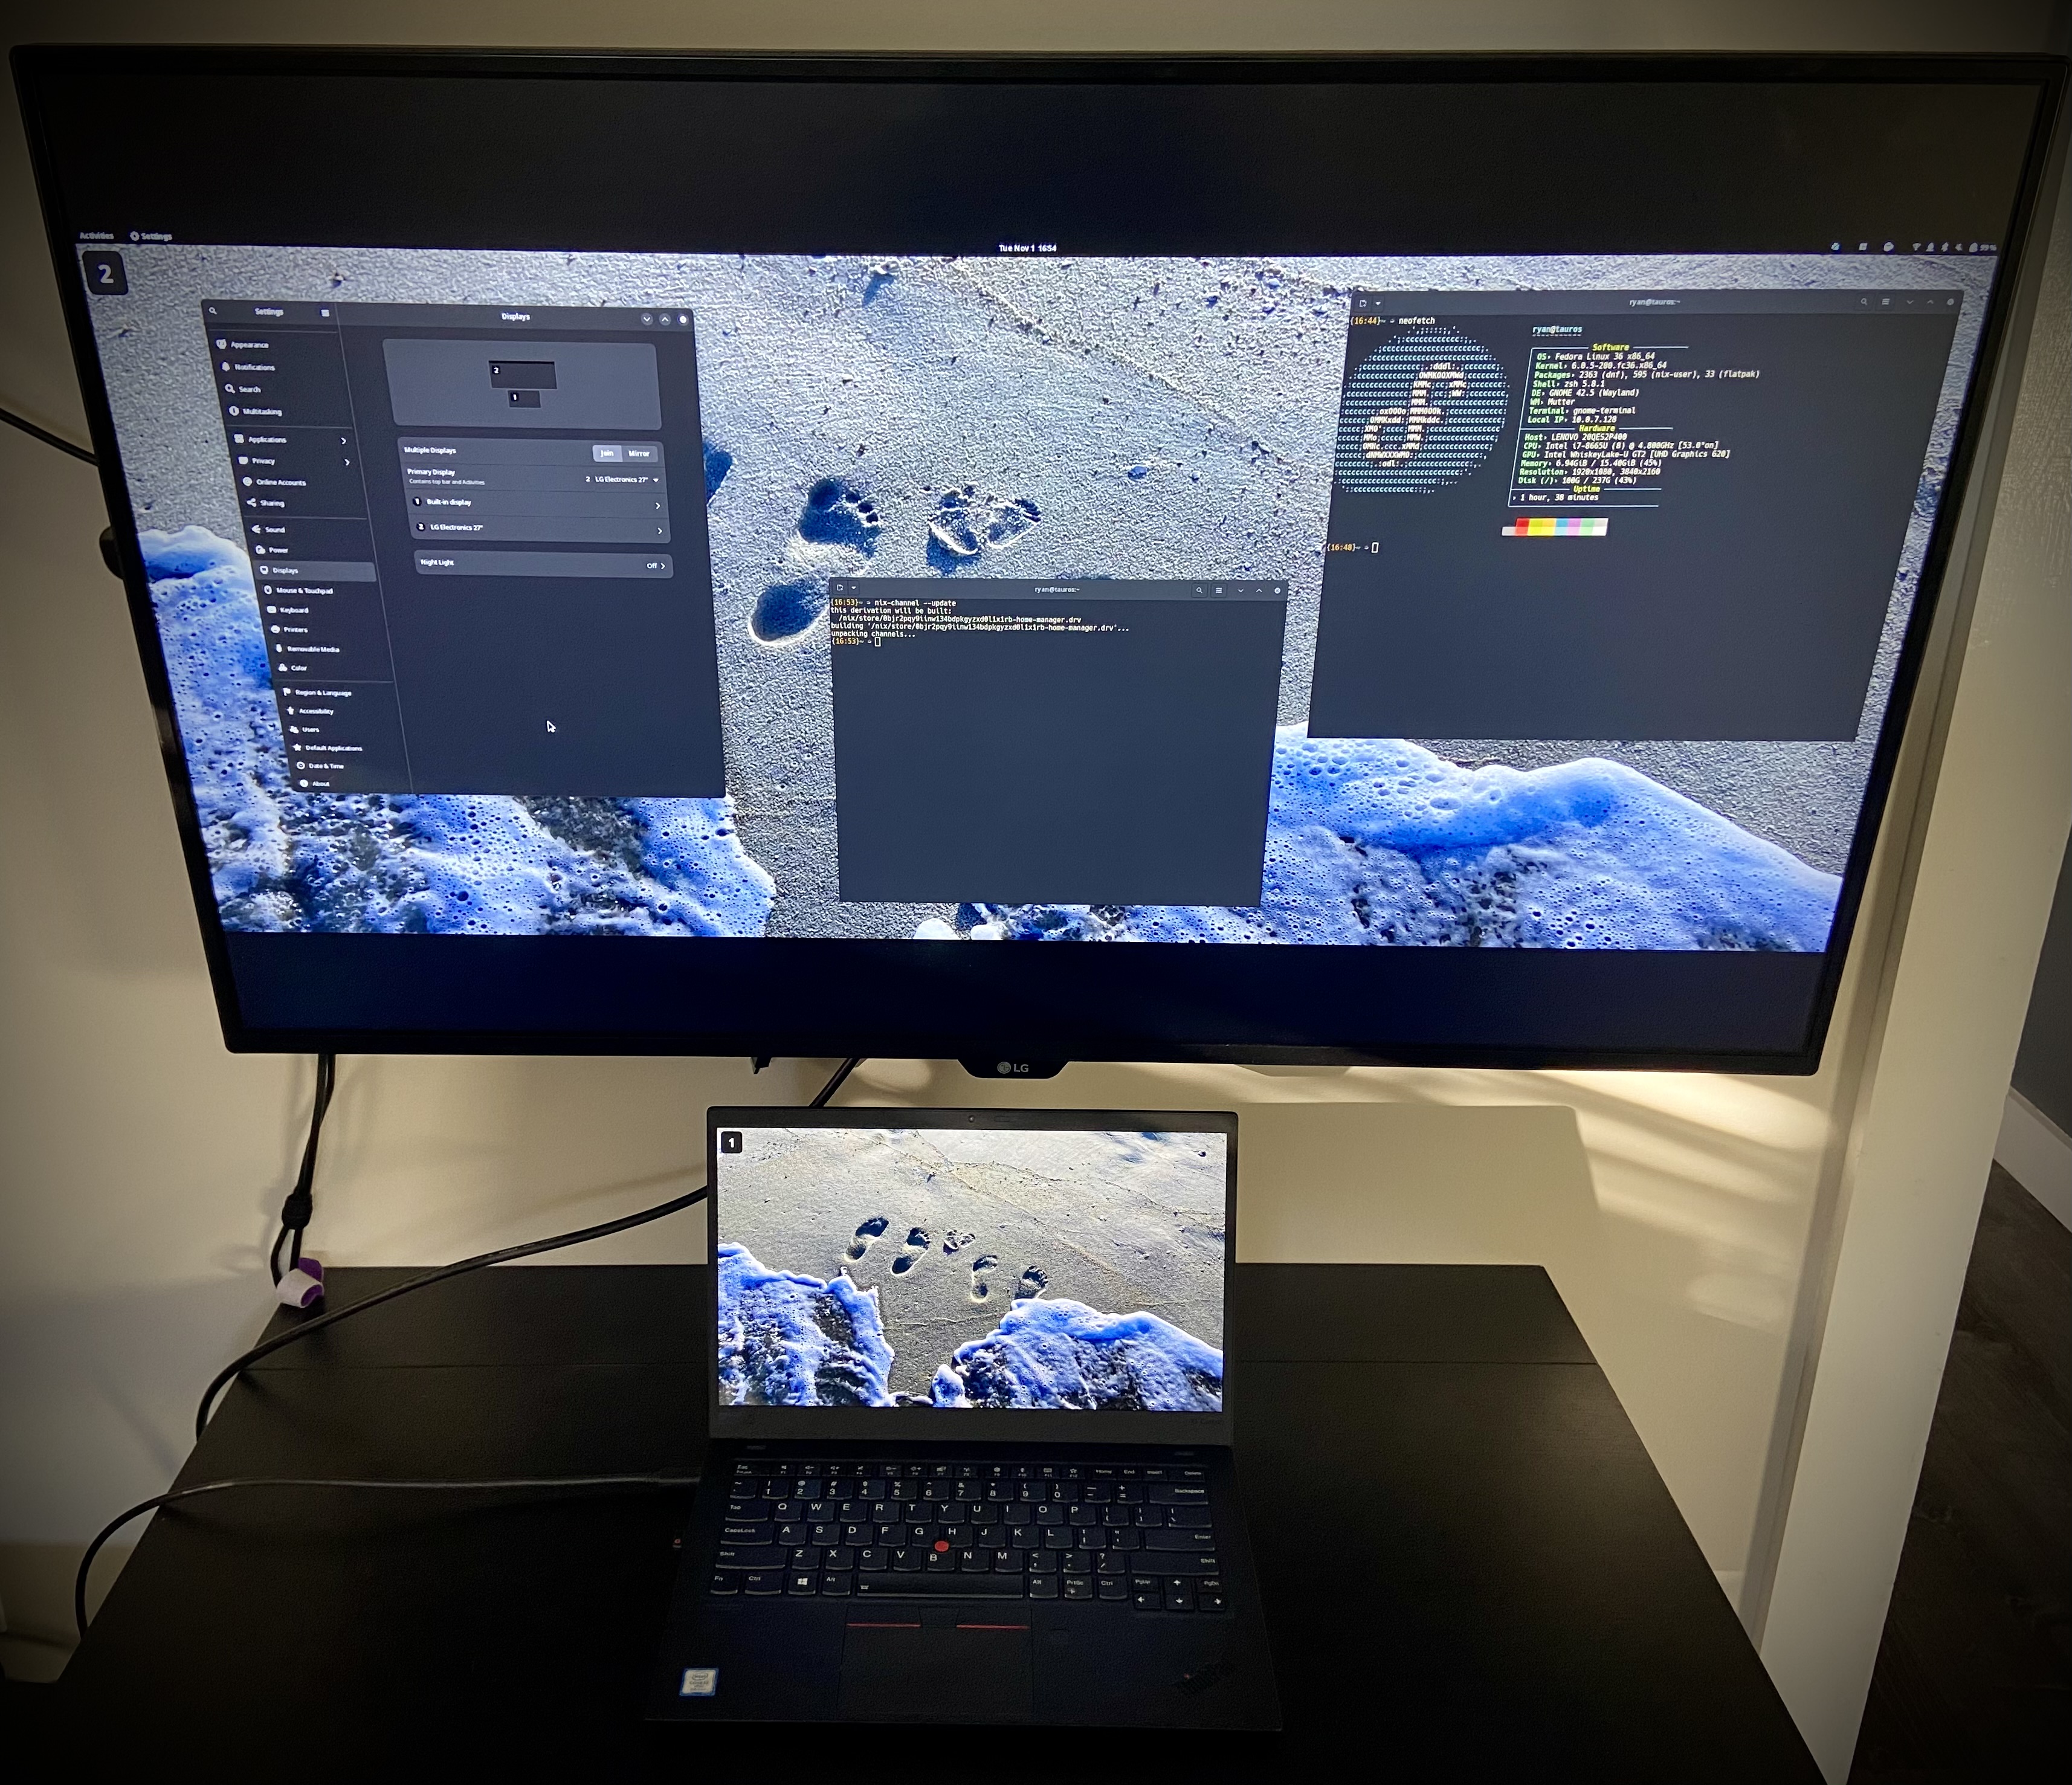
The other week, I worked from Red Hat Tower (Raleigh). In that office, IT is testing out a few flex-workstations with an ultra-wide monitor (Samsung S65UA), which I decided to try out. It was the first time I used a real ultrawide monitor for an entire workday. Since then, I have continued to occasionally experiment with working in a 21:9 aspect ratio… on my 16:9 monitors.
My Ultrawide Experience:
While using the ultrawide monitor for work, I learned that it fits many of my workflows. This is mostly because I always have my obsidian notes opened. The extra width allowed me to have a full window for whatever meeting or code I was working on, with the remaining space a perfect size for my notes. It’s also nice to have 3 full-ish windows for other tasks.
Since then, I’ve wanted to test the 21:9 workflow a bit more… but I don’t have an ultrawide monitor. However, I do still have my old, massive, 42.5" 4k monitor that we now use as a bedroom TV and second workstation.
I’ve done this before…
Looking through my post archives, one might notice that I’ve written about doing something very similar in the past. When the lg ud4279b was my main monitor, I used it as a canvas for what I called ‘sub monitor setups’. I even wrote a script to make doing so easy. Unfortunately, the method I used only works for X11, and not in Gnome+Wayland.
Setting a custom resolutions in Gnome Wayland
Now that I prefer using wayland (on Gnome) instead of x11, I have had a much harder time creating custom resolutions to fake an ultrawide monitor on large displays.
Luckily, I recently found this wonderful post, that finally helped me setup a workable solution on wayland gnome. They get all the credit. Here’s a rough outline of what I did.
My steps:
- List/View ‘graphics’ devices and guess which one might be the one for your current display:
➭ ls /sys/class/drm/card*
- From that output, you can see the known resolutions for each display by
looking at the
modesfile, if it exists (if it doesn’t exist, you likely picked the wrong device):
➭ cat /sys/class/drm/card1-DP-1/modes
3840x2160
3840x2160
3840x2160
3840x1600
2560x1440
1920x1080
1920x1080
1920x1080
1280x720
1280x720
1024x768
800x600
720x480
720x480
640x480
640x480
640x480
- After confirming the monitor name, it can be used to add to the
GRUB_CMDLINE_LINUXline in the grub config, adding a fake monitor resolution for that device. On Fedora 36, I had to edit/etc/default/grub. For example, I appendedvideo=DP-1:3840x1600@60"to the line, which added a 3840x1600 @60Hz resolution option in my config:
GRUB_CMDLINE_LINUX="rd.luks.uuid=luks-5a3d262f-9081-41de-ab1d-0266cab3b7fc rhgb quiet video=DP-1:3840x1600@60"
Note: It’s a good idea to first backup this file before editing it.
- After modifying the file, remember to rebuild the grub config:
sudo grub2-mkconfig -o /boot/grub2/grub.cfg
- Lastly, reboot and the resolution should be available in the display settings.
Things to note
While this works, it isn’t a perfect solution and there are a fewt things to be aware of:
- When connected to the configured display, the device will use the resolution you defined when booting.
- It seems you can only set one resolution per display device (input). This is kind of annoying and limiting.
- I had at least one experience where the display changed my resolution to something weird that I couldn’t fix until I disconnected and reconnected my monitor. So you might experience minor issues like that from time to time.
Conclusion
While ultrawides might be well suited for my work tasks, I don’t think they are ideal for the rest of my personal monitor needs. Still, it’s fun to have the option to turn a large 16:9 into a fake ultrawide for when I just want to work with that type of display. And now, I don’t even have to leave my wayland session to do it!
Adding --baseurl Argument to My Website Pytests The iPad Magic Keyboard Case


