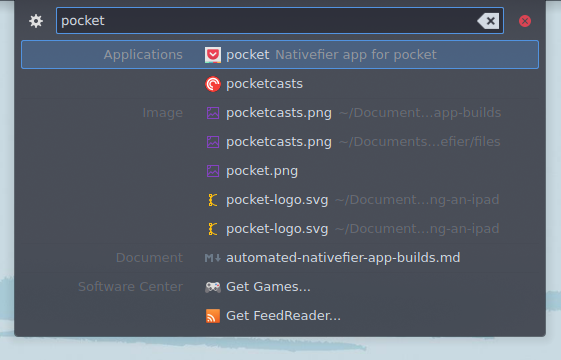
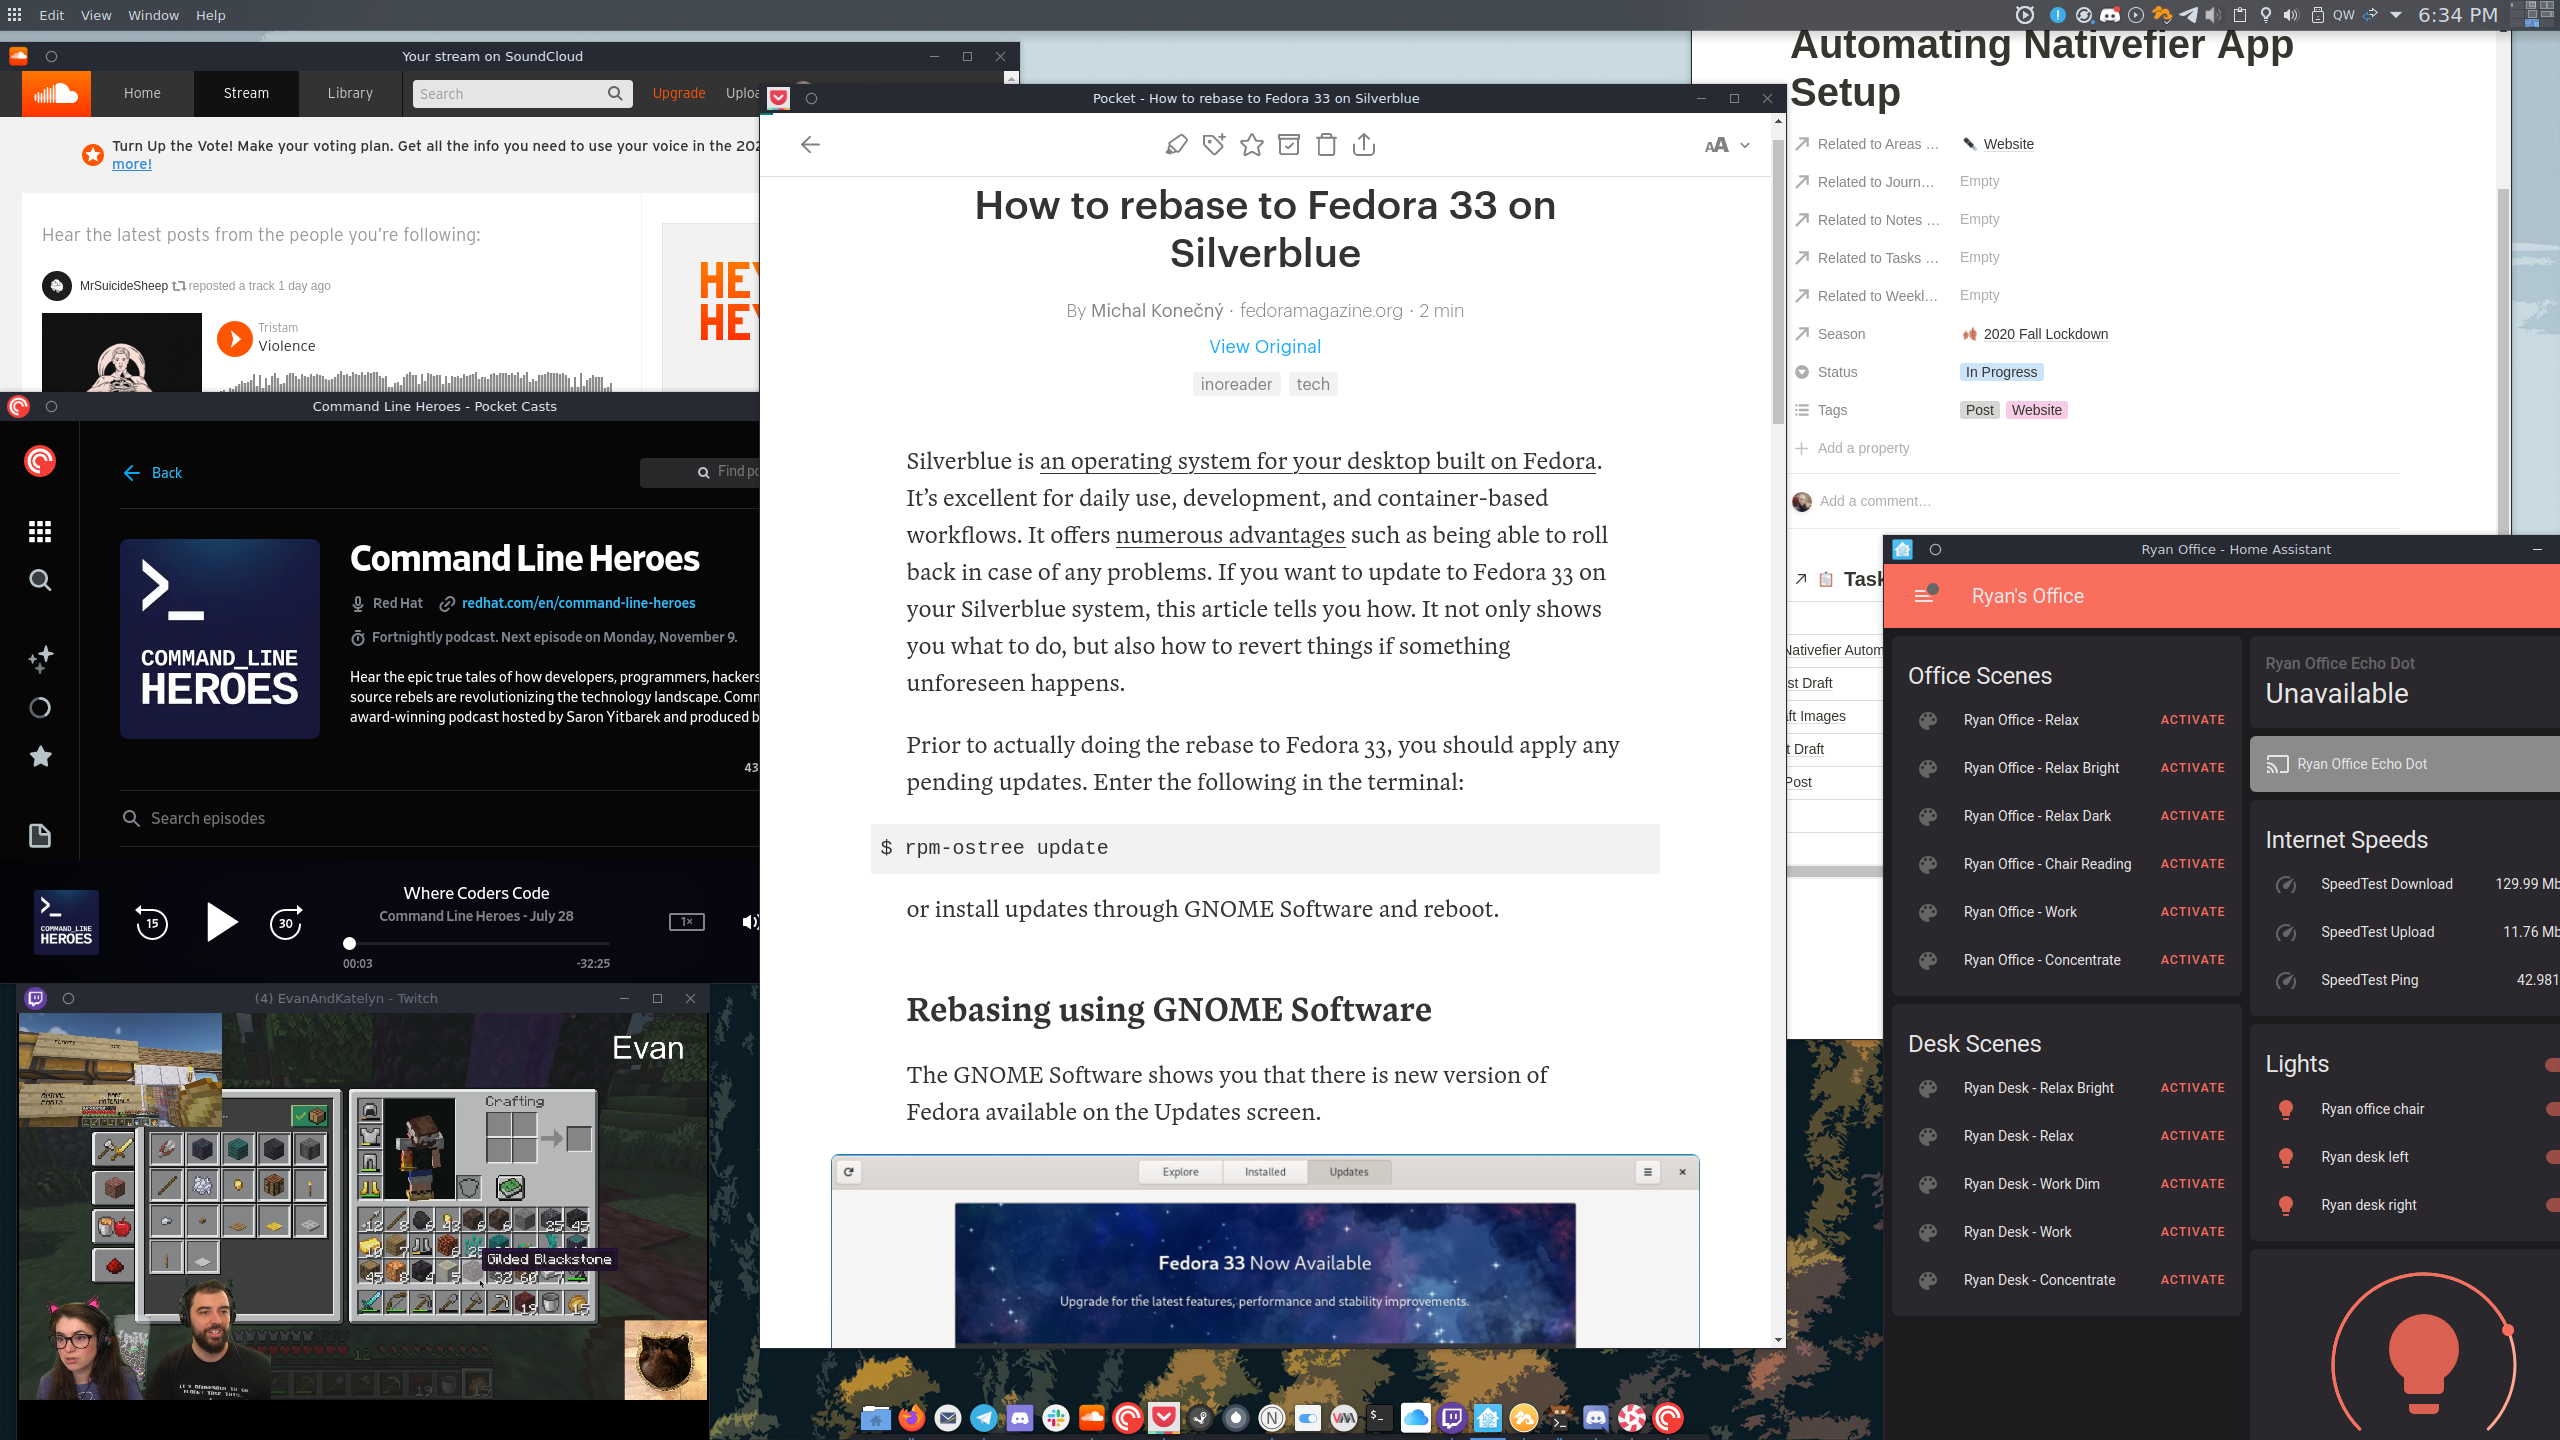
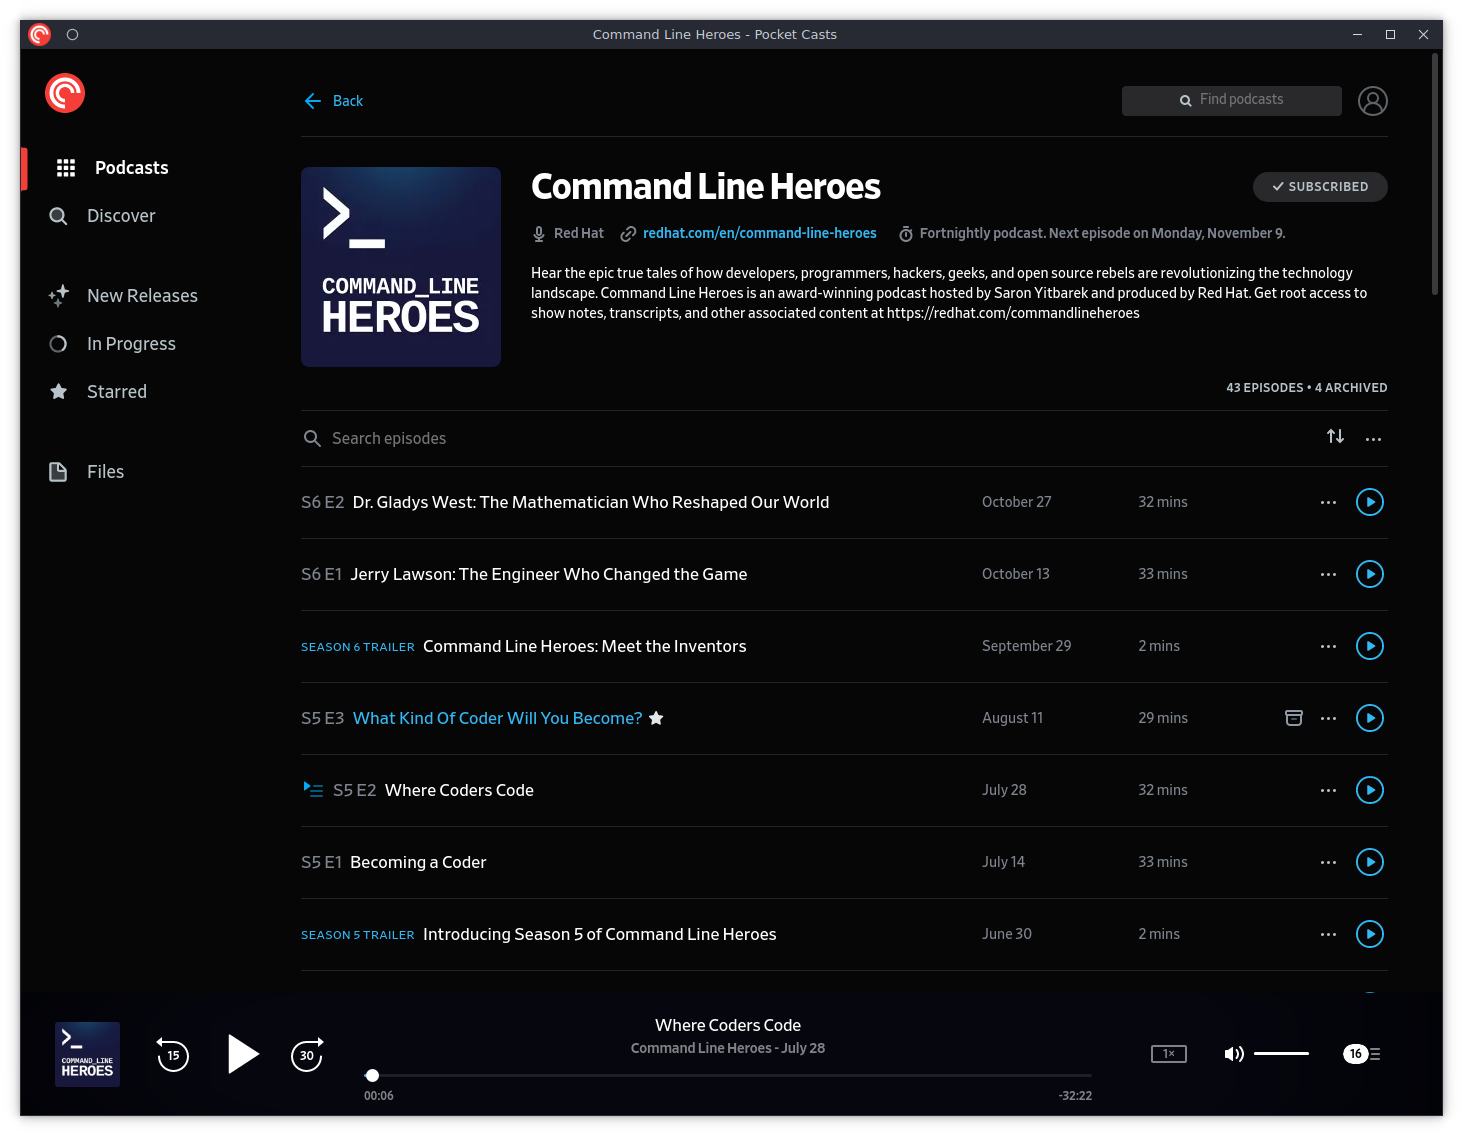
Most applications we use today are fancy web pages, wrapped up in a desktop shell. Many people even forgo desktop builds, instead opting to run webapps simply as another tab in their web browser (Ex: Slack, Discord, Notion). Personally, I prefer to have dedicated windows opened for my essential tools. As a result, I love using nativefier to create desktop versions of my favorite web-based applicatons. The only problem is… it can be a pain to setup. Lets fix that.
How I use nativefier
What Apps I use it for
I use nativefier for all of the web services that are missing a Linux client, or web tools that I use often and want a dedicated desktop client for. On most days, I use the following tools via a nativefier desktop build:
- Pocket - to read articles
- Pocketcasts - to listend to synced podcasts between my phone and computer
- Fastmail - For my personal email and calendar
- homeassistant - To control parts of my house (mostly lights and temp)
- Notion - My notes and planning tool
- Soundcloud - For music while working
Also, while not used every day, I have made nativefier builds for twitch and icloud. These are both apps that exist on other desktops but don’t have an official Linux build.
How I make them feel like normal apps
There are a few steps I take to help make these builds feel more like native ones.
Desktop Files

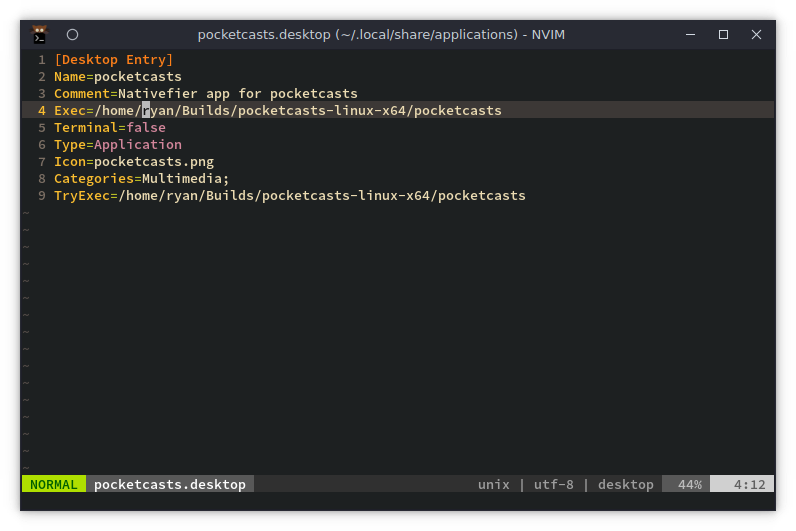
The first, and argualy most important step I take, is creating a desktop entity for each nativefier build. A desktop entity defines an application in Gnome and KDE Plasma desktop environments, allowing it to show up in menus and launchers. Defining an entity for the nativefier builds tells the system to to treat the build as a normal application, which is what we want.
Icons
The second action I’ve started doing is making sure that I use proper icons when I run nativefier. I already needed the icon for creating the desktop entity, but I noticed the icon displayed in the running app often didn’t match the one defined in the desktop file. This extra step resolves this issue and helps make everything look more cohesive.
How I usually create nativefier builds

While these additional steps help nativefier builds behave like real desktop applications, it adds a bunch extra work to the creation process. When I want to make a new nativefier app, I usually have to:
- Install nativefier and it’s dependencies (usually in a podman container)
- Build the application to a build directory
- Find an icon for the application and add it to my
~/.local/share/icons/folder - Create a new
.desktopfile for the application, which involves:- Filling out the description
- Changing the exec paths.
- Adding the icon path
- Verify it works (something is usually missing)
To save some time when setting up a new system, I often copy the build
directories along with the desktop and icon files. However, even that can be
quite tedious. For example, if the new system uses a different username (ryan vs.
rhimmew), I have to update all of the desktop files to reflect the change.
We can do better. Lets automate it.
Using a podman container instead
Before diving into the automating the steps, there is one improvement
to my normal process I want to make. Instead of installing nativefier from a
npm install, I want to switch to using an ephemeral nativefier
container for the builds. This has several benefits, including not having to install
dependencies, and always using the latest version for the automation. Plus…
containers are fun.
After tweaking the suggested docker instructions, I was able to get a nativefier container building apps on my desktop using podman:
# Pull the Image
podman pull jiahaog/nativefier

# Run a build for a container
podman run --rm  -v ICONS_DIR src -v NATIVEFIER_BUILD_DIR target jiahaog/nativefier --icon /src/ICON --name NAME -p linux -a x64 URL /target
This command had a few parameters to swap:
ICONS_DIR: the directory that contains the application icons to build with.NATIVEFIER_BUILD_DIR: the directory to save the application builds toICON: The filename of the image to use for the iconNAME: The name of the application (ex:pocketorhomeassistant)URL: The url of the webapp to build
This command spins up a podman container, passes our variables through, and builds a nativefier app. After finishing, the container automatically deletes itself.
Automating the process
Now that we’ve figured out how to run nativefier with podman, we can focus on writing the automation. Like I have done previously, I will be implementing the automation by creating a new role to use in my ansible playbooks. If you are unfamilar with roles, checkout the ansible quickstart post I wrote earlier this year.
To start, I’ll create a folder for the new role, with tasks, defaults, files, and
templates sub directories.
Vars
First, lets define default values for the variables we will use in tasks and template files:
user: "{{ ansible_user_id }}"  # User to run as
nativefier_build_dir: "/tmp/"  # Location to build apps at
nativefier_dir: "/home/{{ user }}/Builds/" # Location to move completed builds
icons_dir: "/home/{{ user }}/.local/share/icons/" # App Icon location
applications_dir: "/home/{{ user }}/.local/share/applications/" # desktop entry location
We will define one more variable which won’t have a default, nativefier_apps. However, I’ll
talk about that later when we use the role in a playbook.
Templates
Next, lets create the one template file we need for this role: an
application.desktop file. Create a new file in the templates directory
named nativefier.desktop.j2 and paste in the following contents:
[Desktop Entry]
Name={{ item.name }}
Comment=Nativefier app for {{ item.name }}
Exec={{ nativefier_dir }}/{{ item.name }}-linux-x64/{{ item.name }}
Terminal=false
Type=Application
Icon={{ item.icon }}
Categories=Multimedia;
TryExec={{ nativefier_dir }}/{{ item.name }}-linux-x64/{{ item.name }}
This template will take the variables for each nativefier app we define in the playbook, and use them to fill out a desktop file for each app.
Files
Before writing tasks, there is one more role directory to fill: files. We
want to include the icon files for each application in this role. So, fill the
files sub-directory with the icon files to use.
Tasks
Time to write the tasks. Create and open up a main.yml file in the
tasks sub-directory.
The first few tasks will check and ensure that the directories we intend to use exist. This is generally a good practice to prevent playbooks from breaking due to missing folders:
- name: "Ensure Icon dir exists"
  file:
    path: "{{ icons_dir }}"
    state: directory

- name: "Ensure applications dir exists"
  file:
    path: "{{ applications_dir }}"
    state: directory

- name: "Ensure {{ nativefier_build_dir }} exists"
  file:
    path: "{{ nativefier_build_dir }}"
    state: directory

- name: "Ensure {{ nativefier_dir }} exists"
  file:
    path: "{{ nativefier_dir }}"
    state: directory
Managing Icon Files
Next, add a small task that will copy the icons we included with the role, to the user’s local icon folder:
- name: Move icons to local folder
  copy: src="{{ item.icon }}" dest="{{ icons_dir }}/{{ item.icon }}"
  loop: "{{ nativefier_apps }}"
This will ensure that all the icons are already in place when we build both the
nativefier app and the .deskop files.
Automating the podman builds
We can now define a few tasks that will pull and run the nativefier container using podman. (Note: This could be done with docker… but I prefer podman XD):
- name: Pull down nativefier container image
  shell: "podman pull jiahaog/nativefier"

- name: Build Nativefier app via podman
  shell: "podman run --rm --security-opt label=disable -v {{ icons_dir }}:/src -v {{ nativefier_build_dir }}:/target jiahaog/nativefier --icon /src/{{ item.icon }} --name {{ item.name}} -p linux -a x64 {{ item.url }} /target"
  loop: "{{ nativefier_apps }}"

- name: Clean out nativefier dir
  become: true
  file:
    path: "{{ nativefier_dir }}/{{ item.name }}-linux-x64"
    state: absent
  loop: "{{ nativefier_apps }}"

  # I don't love this, but copy was too slow
- name: Move Builds to Nativefier Location
  become: True
  shell: "mv {{ nativefier_build_dir }}/{{ item.name }}-linux-x64 {{ nativefier_dir }}/{{ item.name }}-linux-x64"
  loop: "{{ nativefier_apps }}"
These tasks also move the built app to the final location.
Manaing Application Files
Lastly, with icons in place and the application builds complete, we can create the application entry files by adding this final task:
- name: Generate Application Desktop Files
  template:
    src: templates/nativefier.desktop.j2
    dest: "{{ applications_dir }}/{{ item.name }}.desktop"
  loop: "{{ nativefier_apps }}"
And there we go, that’s it! Well… sort of.
Selinux woes
While this ‘worked on my computer’, when I tested it on my laptop and in some VMs… it failed.
Issues
Every time I ran the playbook, I hit this error:
Error during build. Run with --verbose for details. [Error: EACCES: permission denied, mkdir '/target/linux-x64-template'] {
  errno: -13,
  code: 'EACCES',
  syscall: 'mkdir',
  path: '/target/linux-x64-template'
}
I was able to tell the error occurred while running the podman container. I
assumed it might be selinux related, but was unable to sort out a solution
right away.
The Fix
Eventually after browsing the internet, I learned that my easiest solution was
to add the option --security-opt label=disable to my podman run command, to
turn off label separation for the container. I’m sure there is a better, more
secure soltion I could do. However, I figured this was at least a good compromise of
being easy to implement, but more secure than the common (and wrong) suggestion
of “just disable selinux”.
One last fix…
drwxr-xr-x. 1 100999 100999 560 Oct 25 20:40 jellyfin-linux-x64
Lastly, I wanted to add one more cleanup task. My builds had the ugly uid/gid
pair of 100999 100999, so I a task to change ownership to the user:
- name: Change Permissons of Nativefier Dirs
  become: True
  file:
    path: "{{ nativefier_dir }}/{{ item.name }}-linux-x64"
    owner: "{{ user }}"
    group: "{{ user }}"
  loop: "{{ nativefier_apps }}"
After that change:
drwxr-xr-x. 1 ryan ryan 560 Oct 25 20:40 jellyfin-linux-x64
Much better!
Example adding it to my playbooks
With the role complete, it is finally time to add it to a playbook. I define playbooks to provision all of my machines, so I will just add it to them. First make sure the role is added to the list of roles used by the playbook. For example:
  roles:
    - apps/nativefier
Next, define a new var named nativefier_apps. This variable is a list of
dictionaries, with each dictionary providing the values for a different
nativefier application. Each nativefier build requires three variables to be
defined:
name: The name of the applicationicon: The filename (including ext) of the icon file to for the applicationurl: The address for the webpage to build as a nativefier app
So, to build my pocket, fastmail, and homeassistant apps, I added the
following to my playbook:
nativefier_apps:
  - name: pocket
    icon: pocket.png
    url: "https://app.getpocket.com"
  - name: fastmail
    icon: fastmail.png
    url: "https://www.fastmail.com"
  - name: homeassistant
    icon: homeassistant.png
    url: "http://homeassistant.local:8123"
That should be it! Afterwards, my playbooks could build and configure all my nativefier applications automatically!
Conclusion

I have wanted to create this role for a very long time and am glad I finally did. Nativefier is such an amazing tool, and paring it with podman and ansible has somehow managed to make it shine even more. Enjoy!
My new Ergox-EZ Keyboard -- Initial Thoughts Decided to get an Ergodox
